Mastering Canning: Preserving Garden Harvest with Confidence
We
can can!
The summer harvest can be a bit overwhelming. If the weather has cooperated, the tomatoes come in by the bucketful, the CSA we belong to has a bumper crop of peaches, and the Farmers' Market has gorgeous apples. This is when you'll want to preserve all this bounty for eating in the wintertime. One method of preserving produce is canning, using either a water bath or a pressure cooker method. It's not rocket science to safely preserve produce by canning, and your reward will be beautiful jars of produce and nutritious produce to eat all winter.
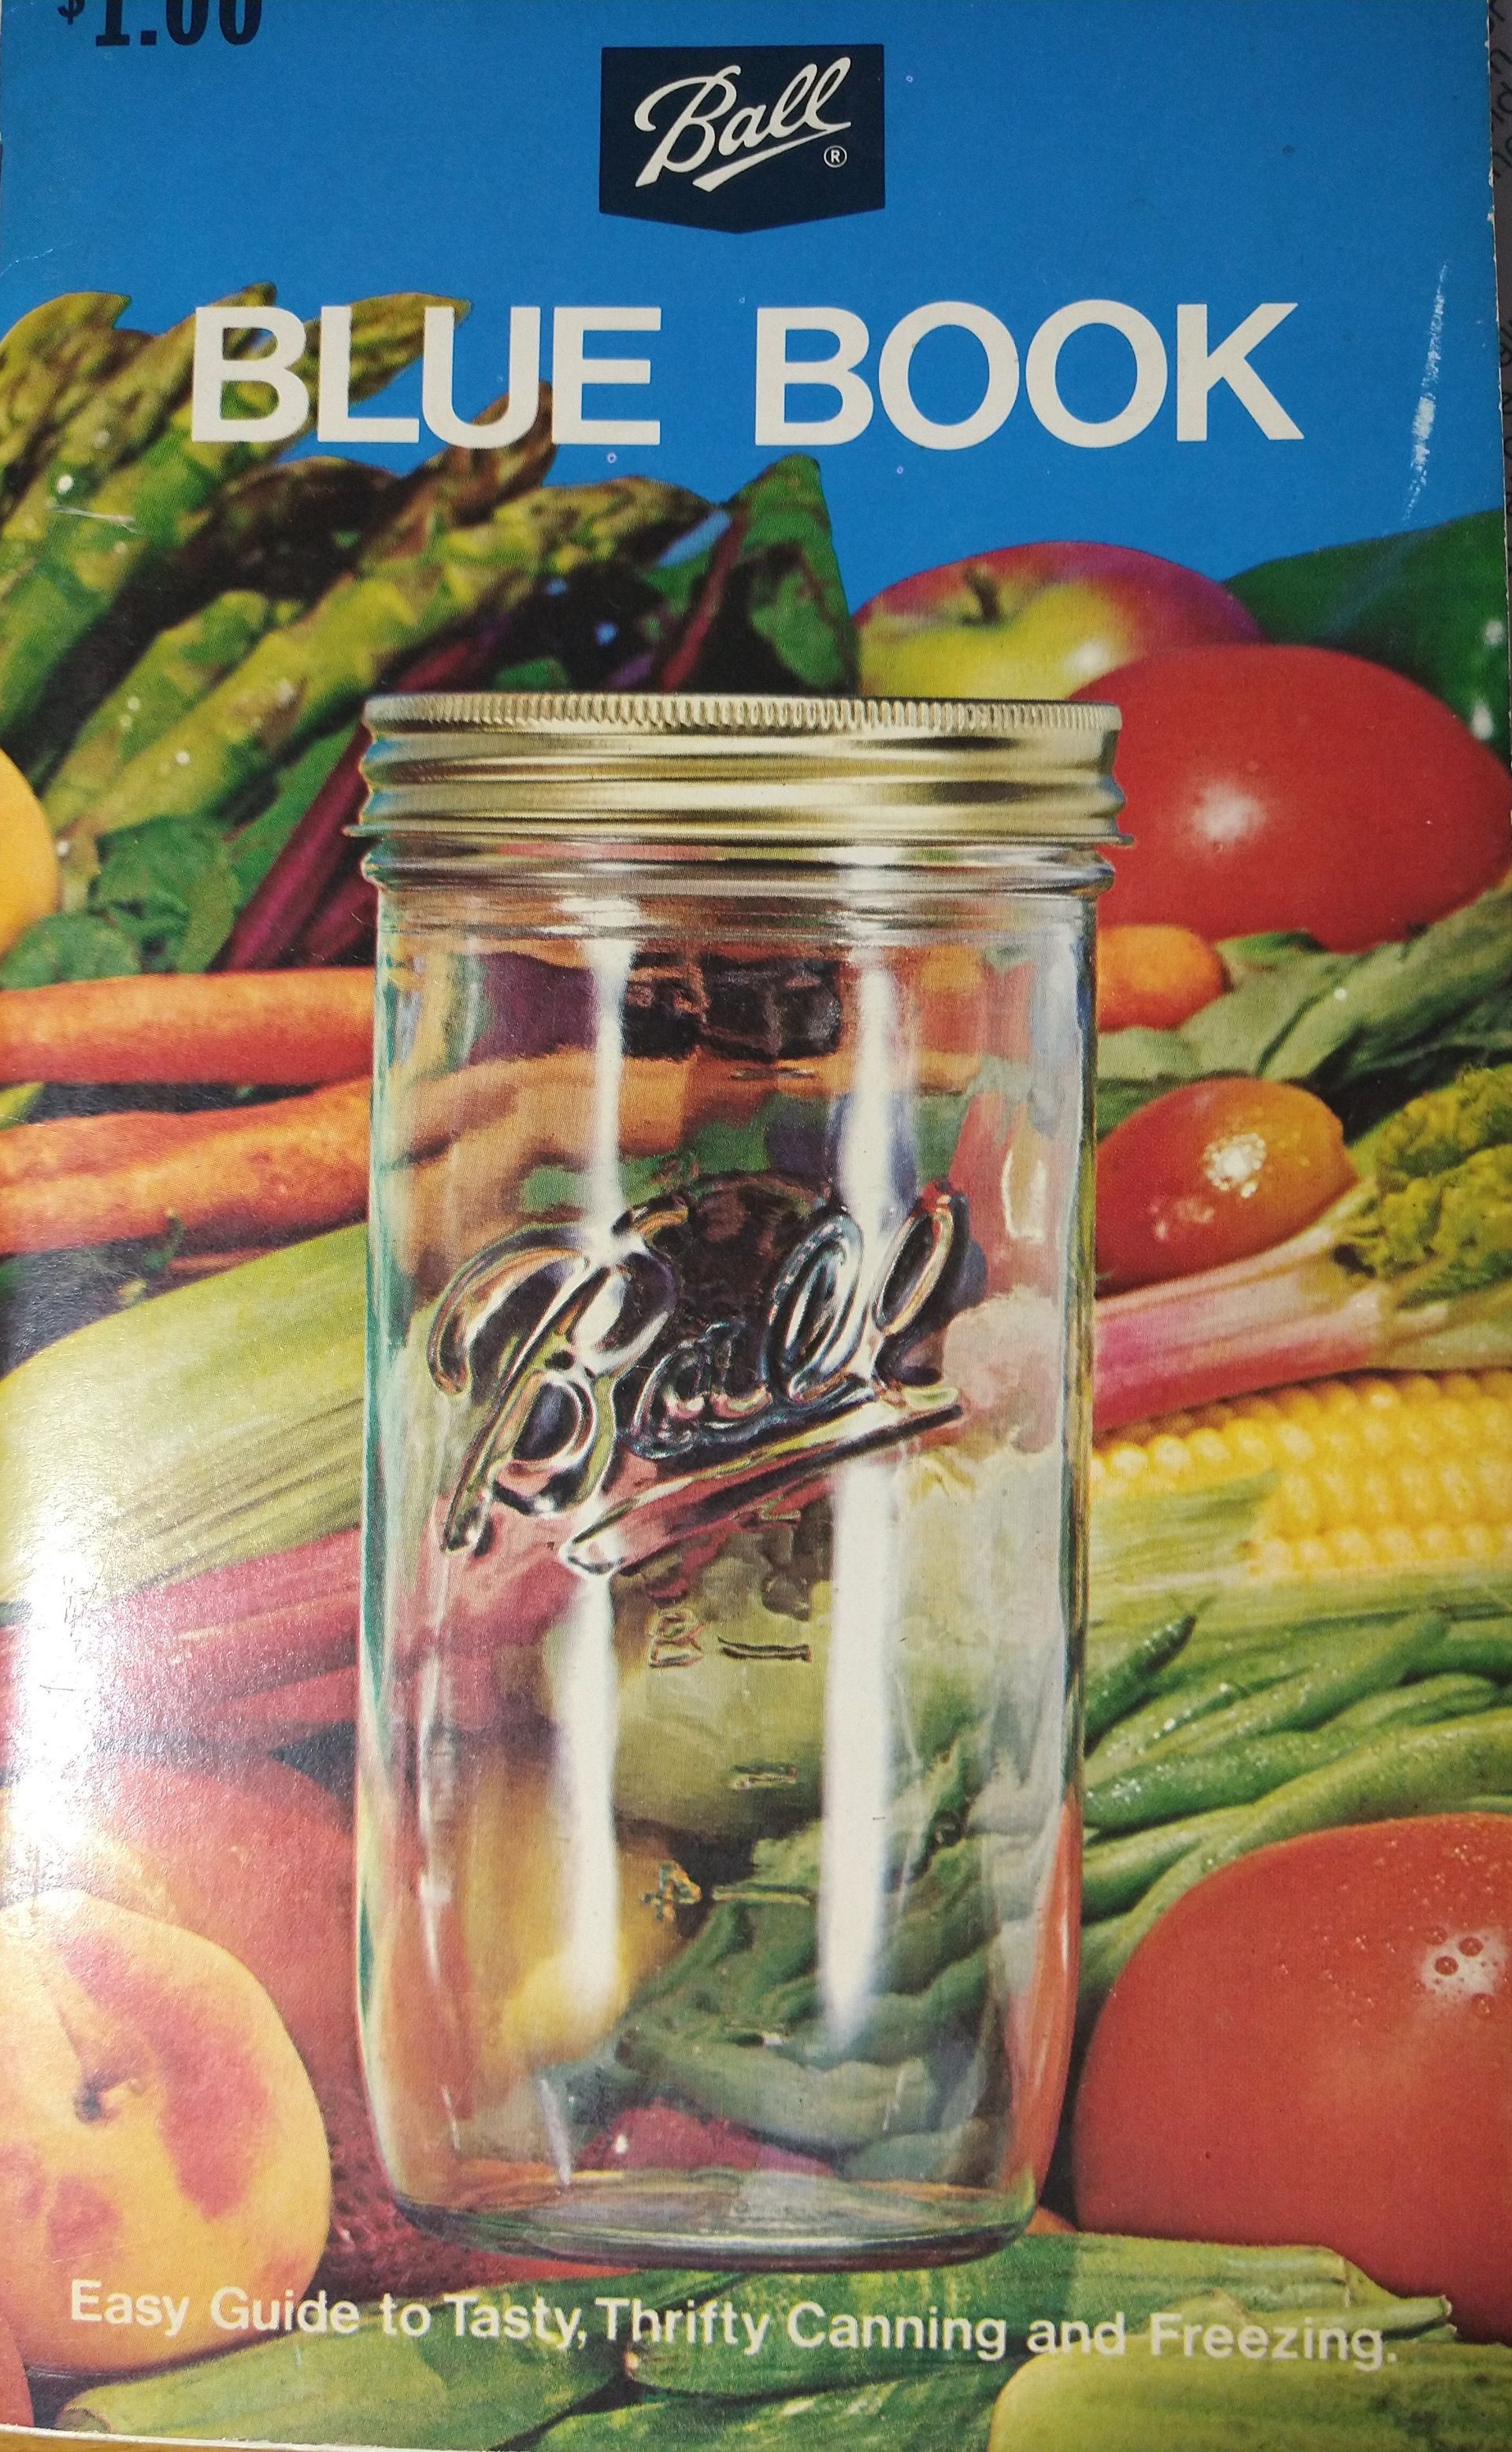
The first essential for canning is the Ball "Blue Book." It's been the "bible" for canners since 1909! There are other books that will help us with the basics of drying, pickling, dehydrating or fermenting, but the Blue Book will serve you well through years of canning. I want to give you the step-by-step process of canning below so you can picture what you'll be doing. The Blue Book will tell you how long to leave different fruits or vegetables in the canner, how much pressure each vegetable requires and will even give recipes. It's fine to use your grandparent's Blue Book--the information never goes out of date.
Water bath canning:
Water bath canning requires the same preparation of the jars, lids and produce that pressure cooking canning does. The water bath container itself is less expensive to purchase than a pressure cooker, and some people feel safer not to be working with a pressure cooker--though I hope to get you comfortable with pressure cooker canning by the end of this article.
We can't safely can all produce in a water bath canner, however, because a "water bath" can't reach the higher temperatures of a pressure canner. I still use the water bath canner a lot however, because it safely preserves anything that is acidic: all fruits, jams and jellies made of fruit, tomatoes, pickles and fermented foods like sauerkraut are safe to can in the water bath.
A water bath canner holds seven jars of produce, whether they're in half-gallon, quart, pint, or jelly jars. Once you prep and put each jar on the rack, you'll lower the rack into the simmering water, put the lid on, and leave it for the required period of time.
How much time? Well, that's where the Blue Book comes in. It will tell you exactly how much time for various produce and for what size jars you are using.
Let's go through each step of this process below.
Equipment:
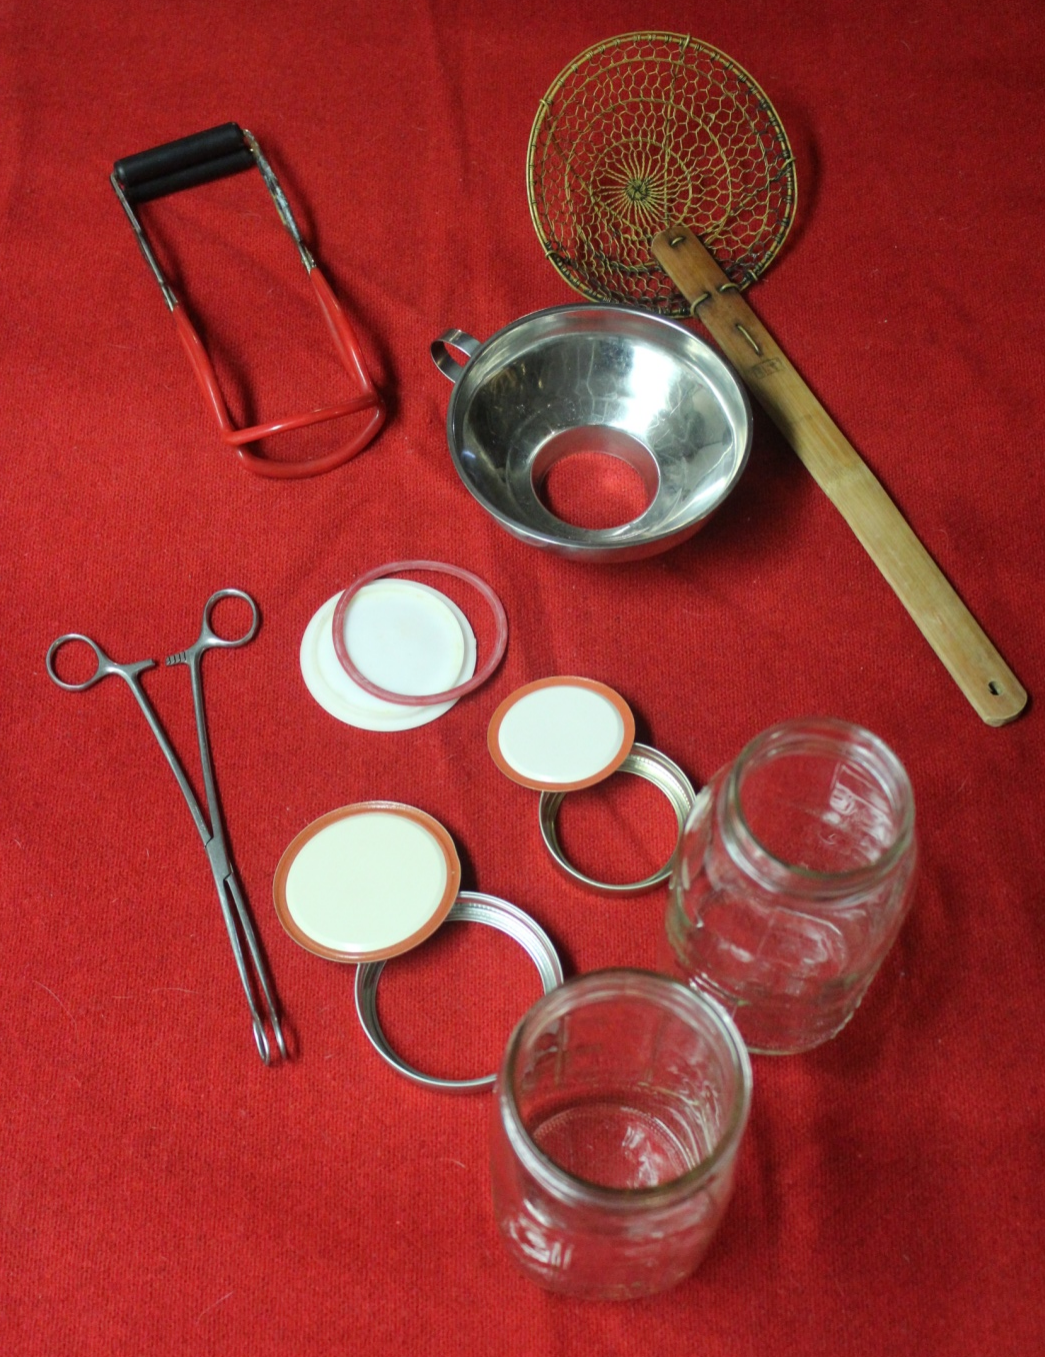
The equipment shown here is what I accumulated and have been using for years. They're easiest to purchase from a hardware store early in the summer as canning season is just beginning. A convenient option is to buy a "canning kit."
- Canning jars come in half-gallons (for large families), quart, pint, and jelly-jar sizes and have "regular" or "wide" mouths. For efficiency of canning fruit, I like to use quart jars. However, there is only two of us at home now, and so pint jars work best for things we use less of, like thick tomato sauce or ketchup. You can sometimes find canning jars available at yard sales, but make sure the top edge of each jar is perfectly smooth. The tiniest of chips can prevent a jar from sealing. If I were buying new jars, I would probably buy all wide-mouth because both whole fruits or sauces would easily be placed inside.
- Canning rings come in regular or wide mouth and can be used repeatedly as long as they don't get rusty. I usually let the jars cool completely before I take the rings off and wash and dry them to be used again.
- Canning lids are only used once, being discarded after the jar is opened. These of course also come in regular or wide mouth sizes.
- Lid lifter: I use the long handled tool pictured to lift the lids out of their simmering water, but there are also magnetic canning lid lifters available.
- Canning jar lifter will allow you to lift the jars out of hot water safely. It's the black and red tool shown.
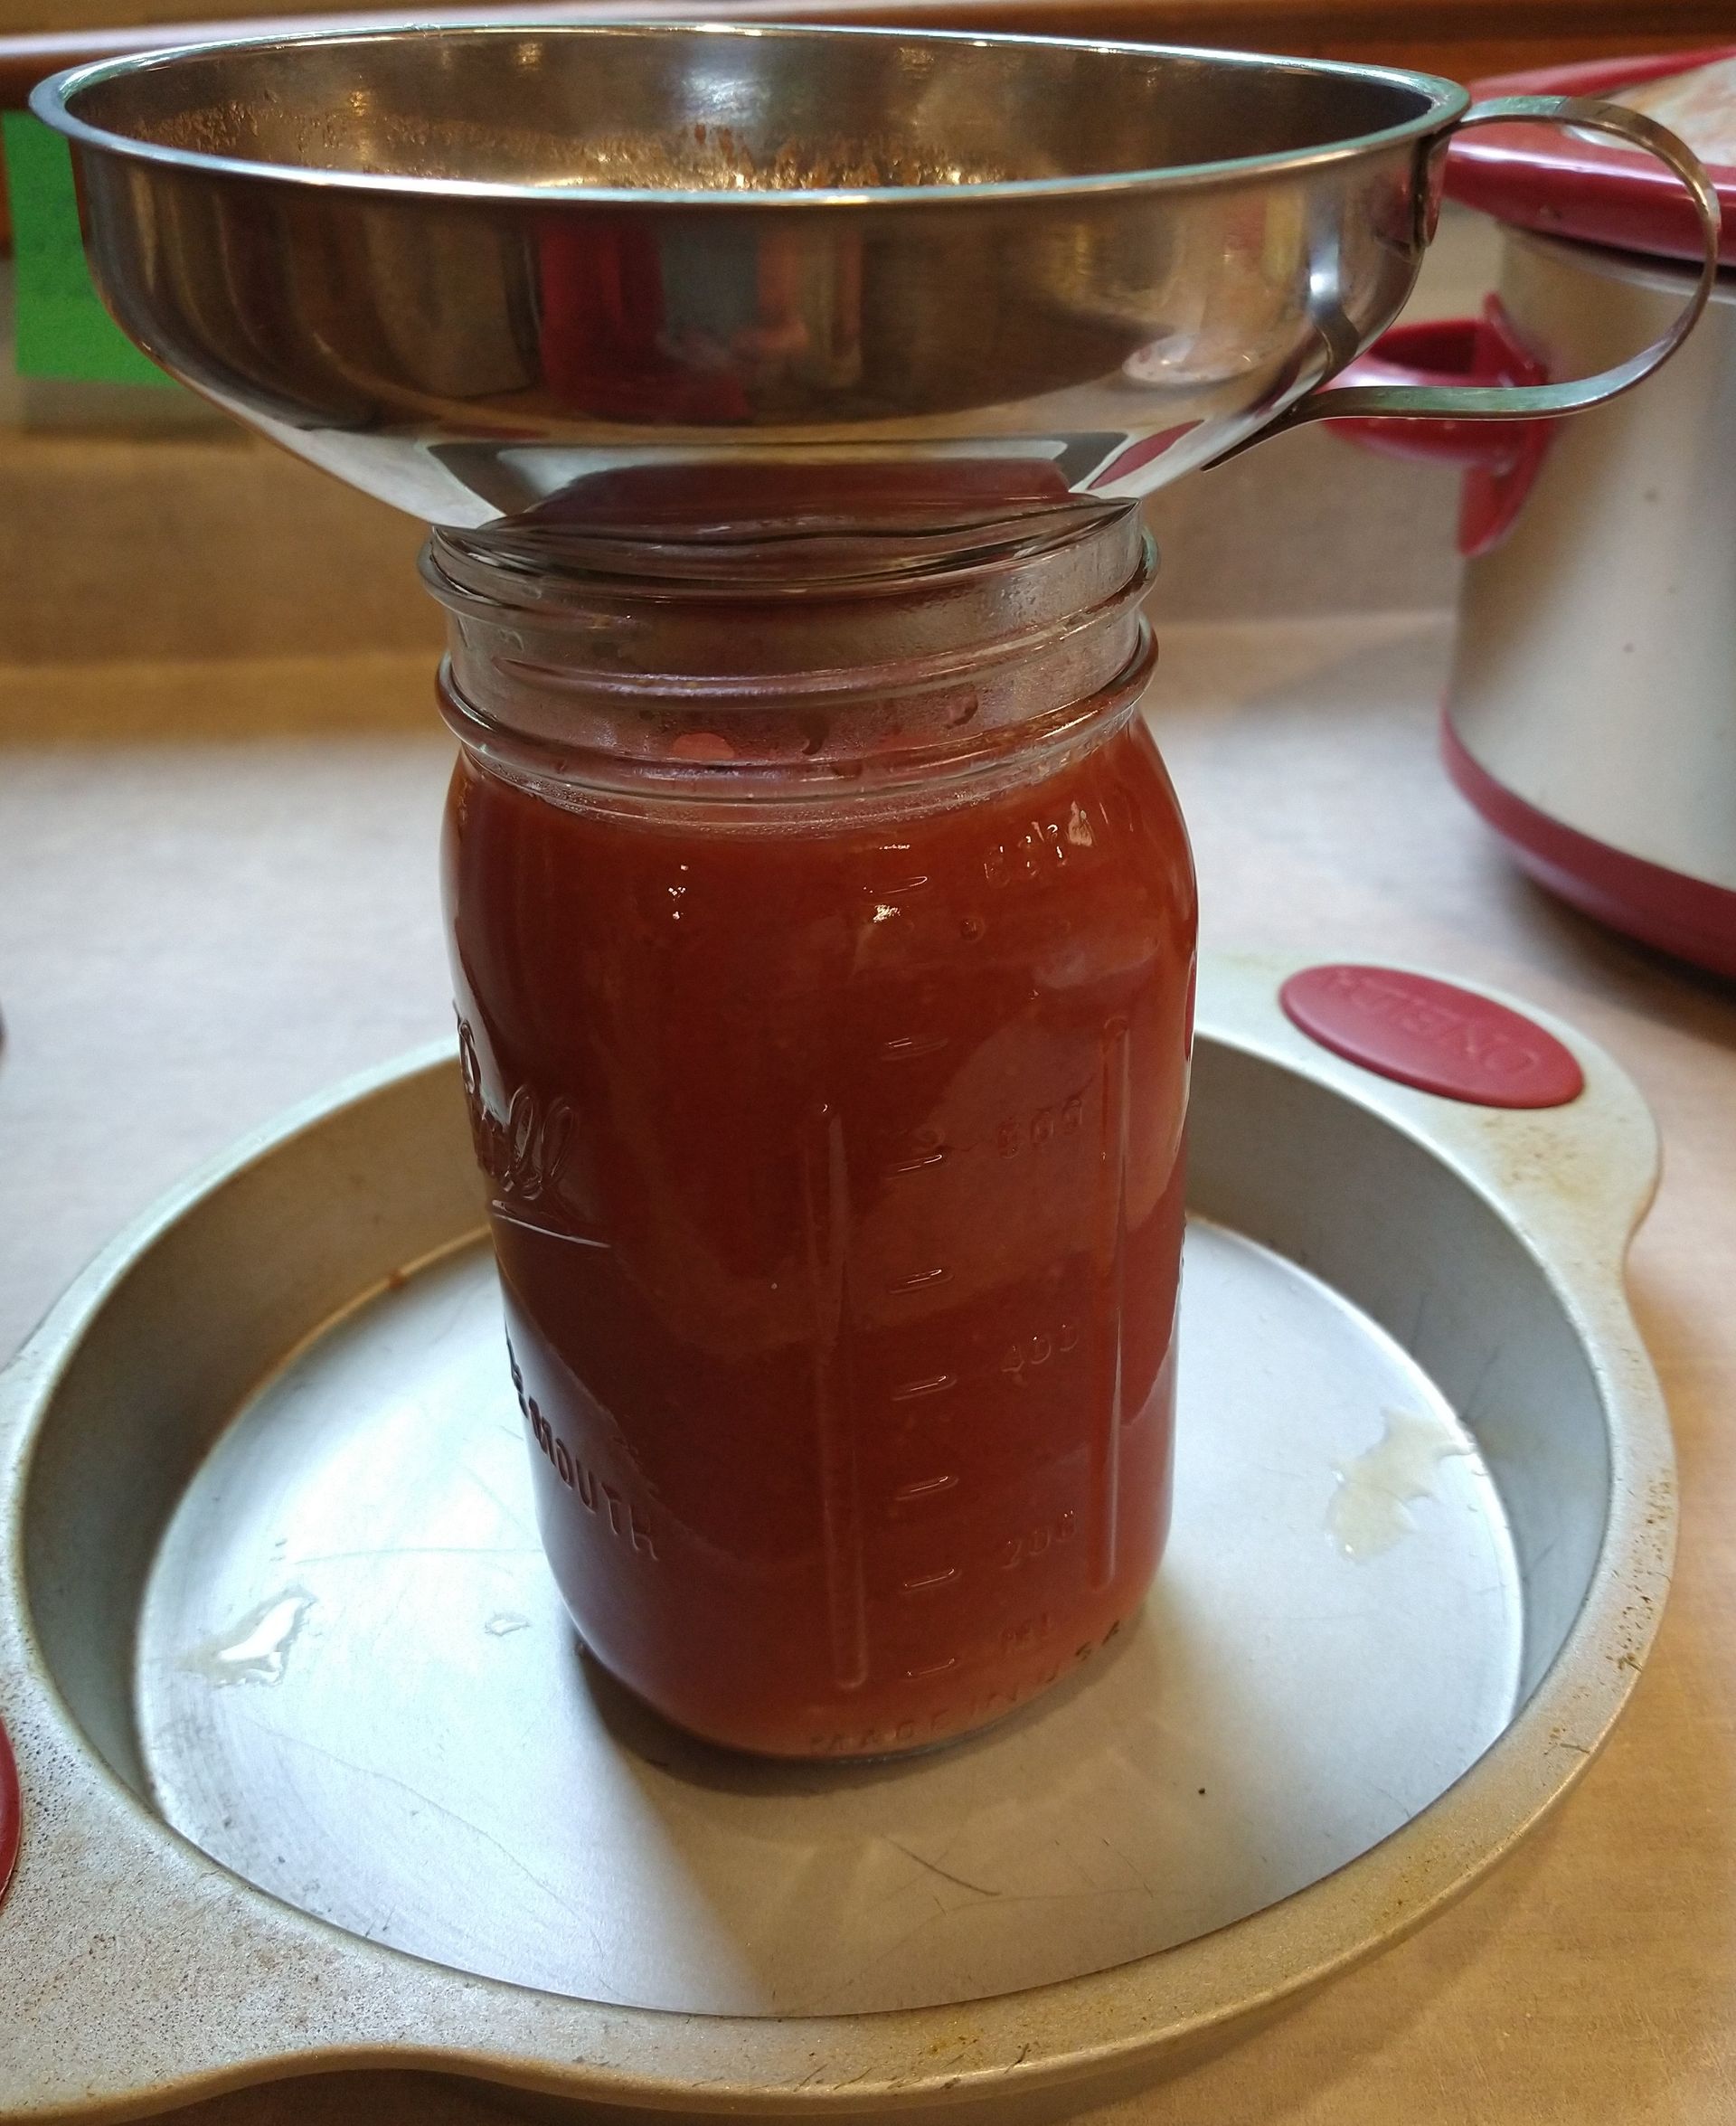
- Canning funnels are essential for getting hot produce into the hot jars. I like using stainless steel, but whether stainless or plastic, you should get one that works for wide or regular jars. You'll value how canning funnels keep the upper lid clean which is essential for getting a good seal.
- A strainer or "skimmer" works well to get produce out of simmering water when you're blanching it or heating it to remove the skins. I'll explain how to use each of these tools below.
Where to begin:
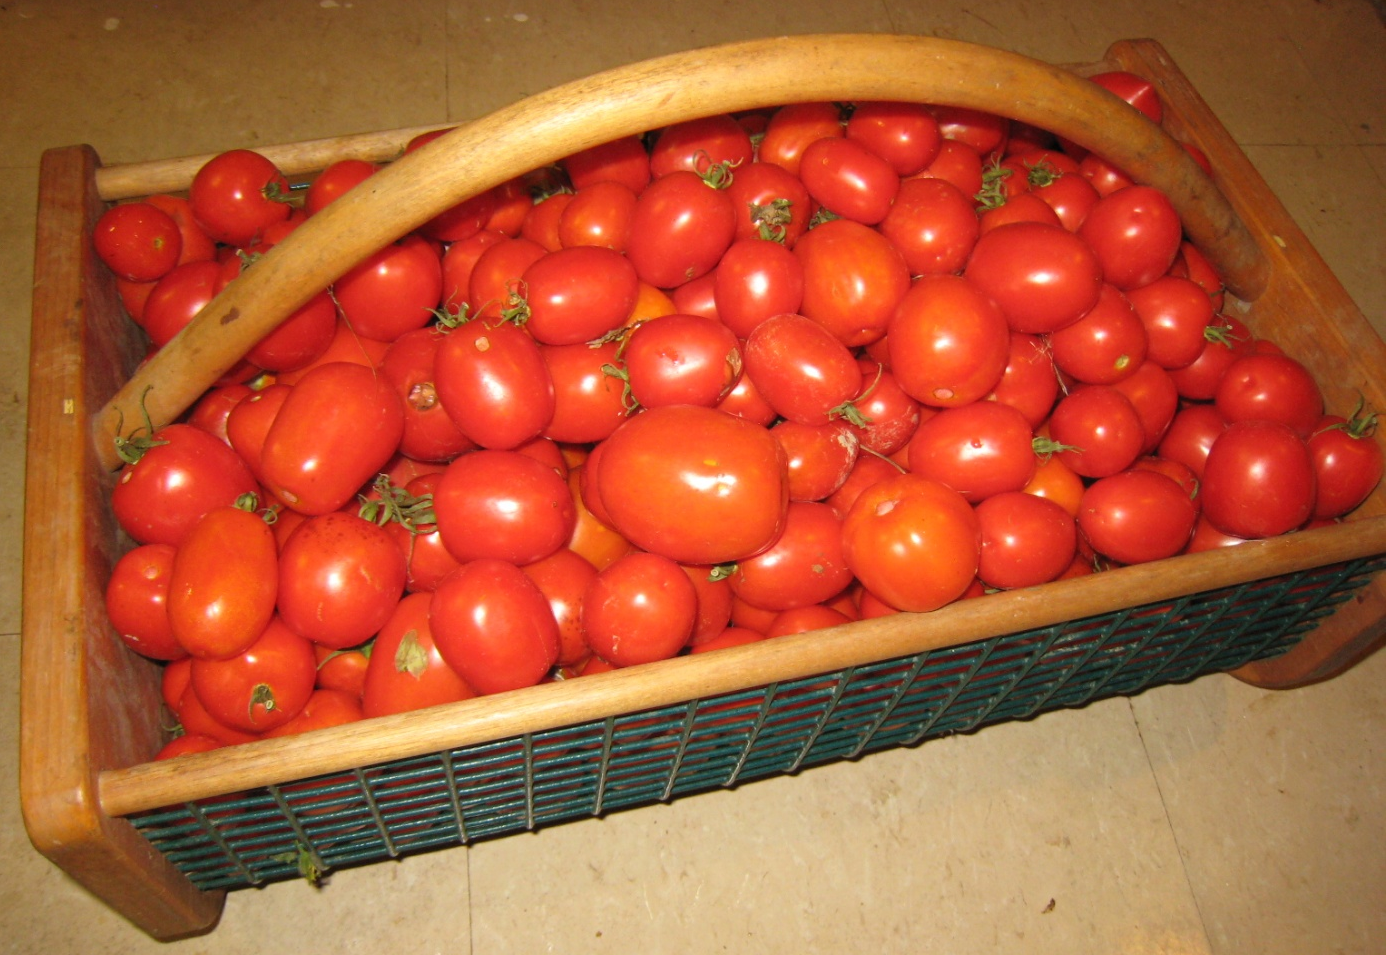
When July comes around, there's usually plenty of tomatoes for us eager gardeners to work with, as well as lots of options what to do with them. I like to can some of the medium-sized "Amish Paste" tomatoes whole, to become part of winter's chili or stew. To do this, I usually put the tomatoes in simmering water for less than a minute, then run them under cool water so I can comfortable skin them before squeezing them into hot jars. The jars are then filled to the bottom of their necks with hot water or tomato sauce.
Because our household uses a lot of tomato sauce, I'll use this as the following example of how to can any acidic food in a water bath.
Getting set up:
I was fortunate to have a corner of the basement of our little farm house for canning. As you can see, it wasn't fancy, but it certainly worked well. Now that I am canning in a small kitchen, I use basically the same set up. See if you can settle in to something similar that can be your efficient workspace. In this set-up, I begin on the left:
- To the left of the microwave and out of the photo is a sink where the jars get washed, rinsed and filled with water.
- The jars are then filled with water and microwaved to get them hot enough to pack with produce. Heating the clean jars could also be done with water heated on the stove. By transferring the hot water from one jar to the next when filling a hot one with produce, I can minimize the amount of water and electricity used.
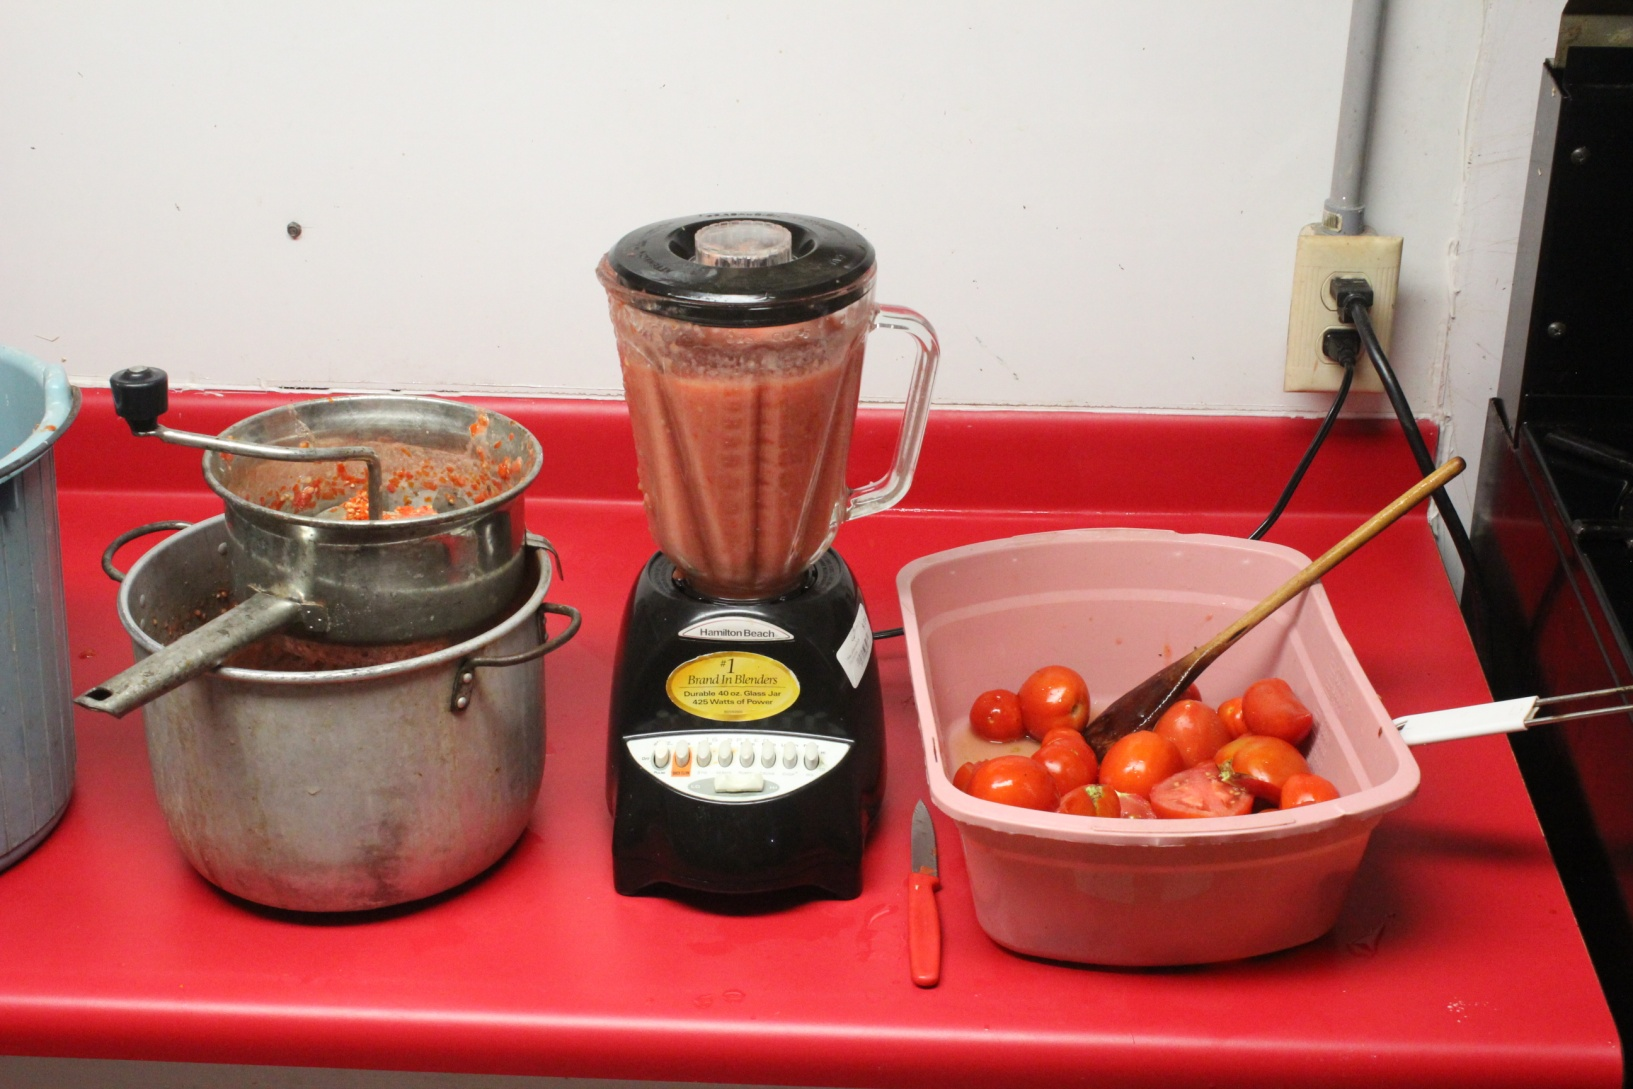
- The blue bucket is used to collect the skins and seeds that have been removed.
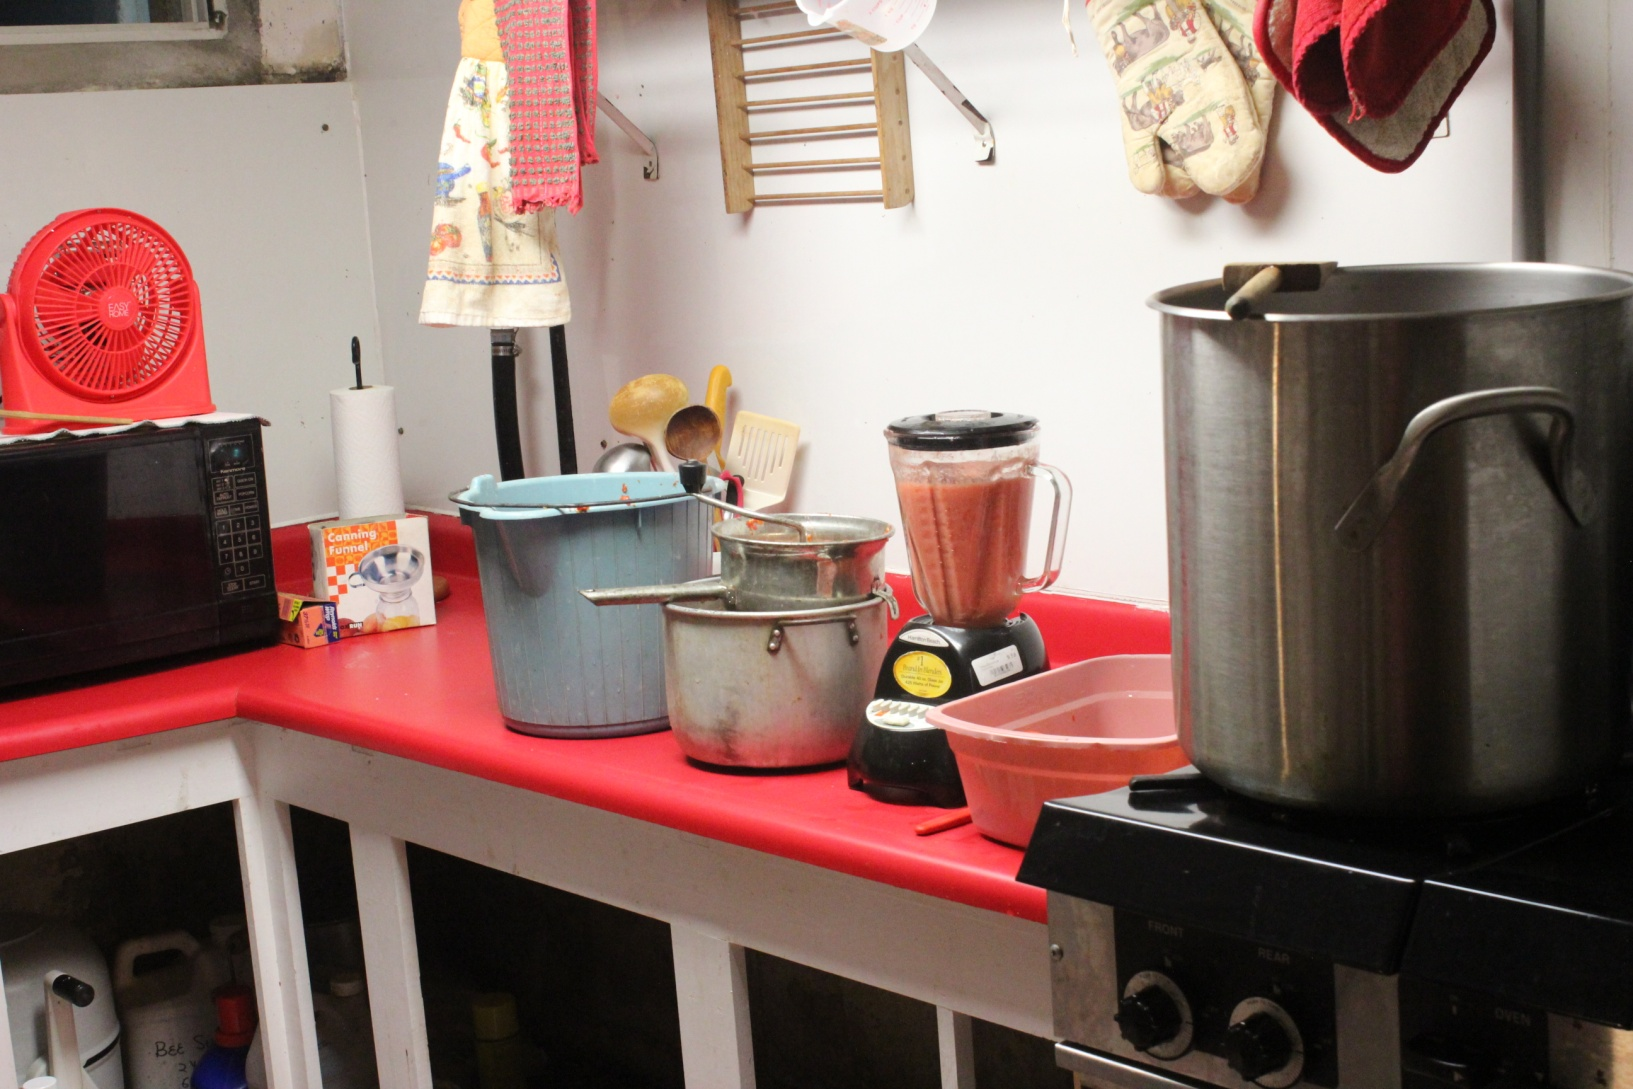
- Jump now to the blender where I pulverize the cleaned, whole tomatoes (from the pink plastic tub) to get them easier to remove the skins and seeds.
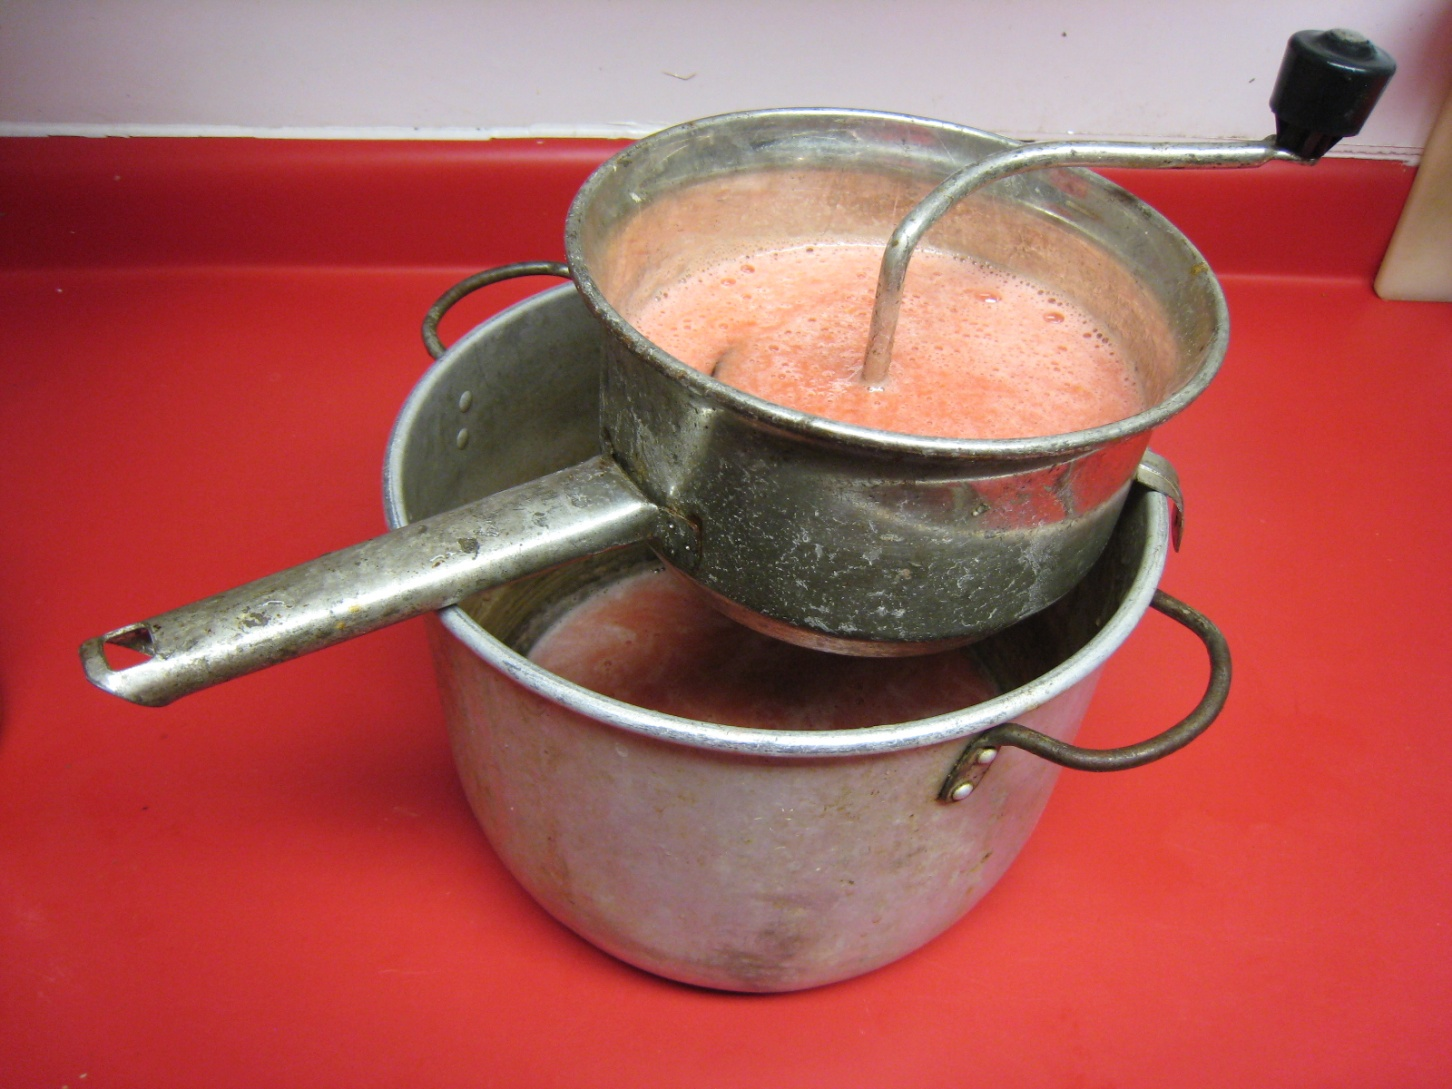
- The food mill, sitting on a clean (but ancient) container, removes the skin and seeds from the tomato juice.
- That big stainless steel pot on the stove in the previous photo is where the juice will be cooked down into a thick sauce before canning.
The food mill:
Let's focus for a moment on the food mill because it is a huge help in removing the skin, seeds and stems from produce. I believe it's best to purchase a good quality stainless steel one that will last for all your canning years.
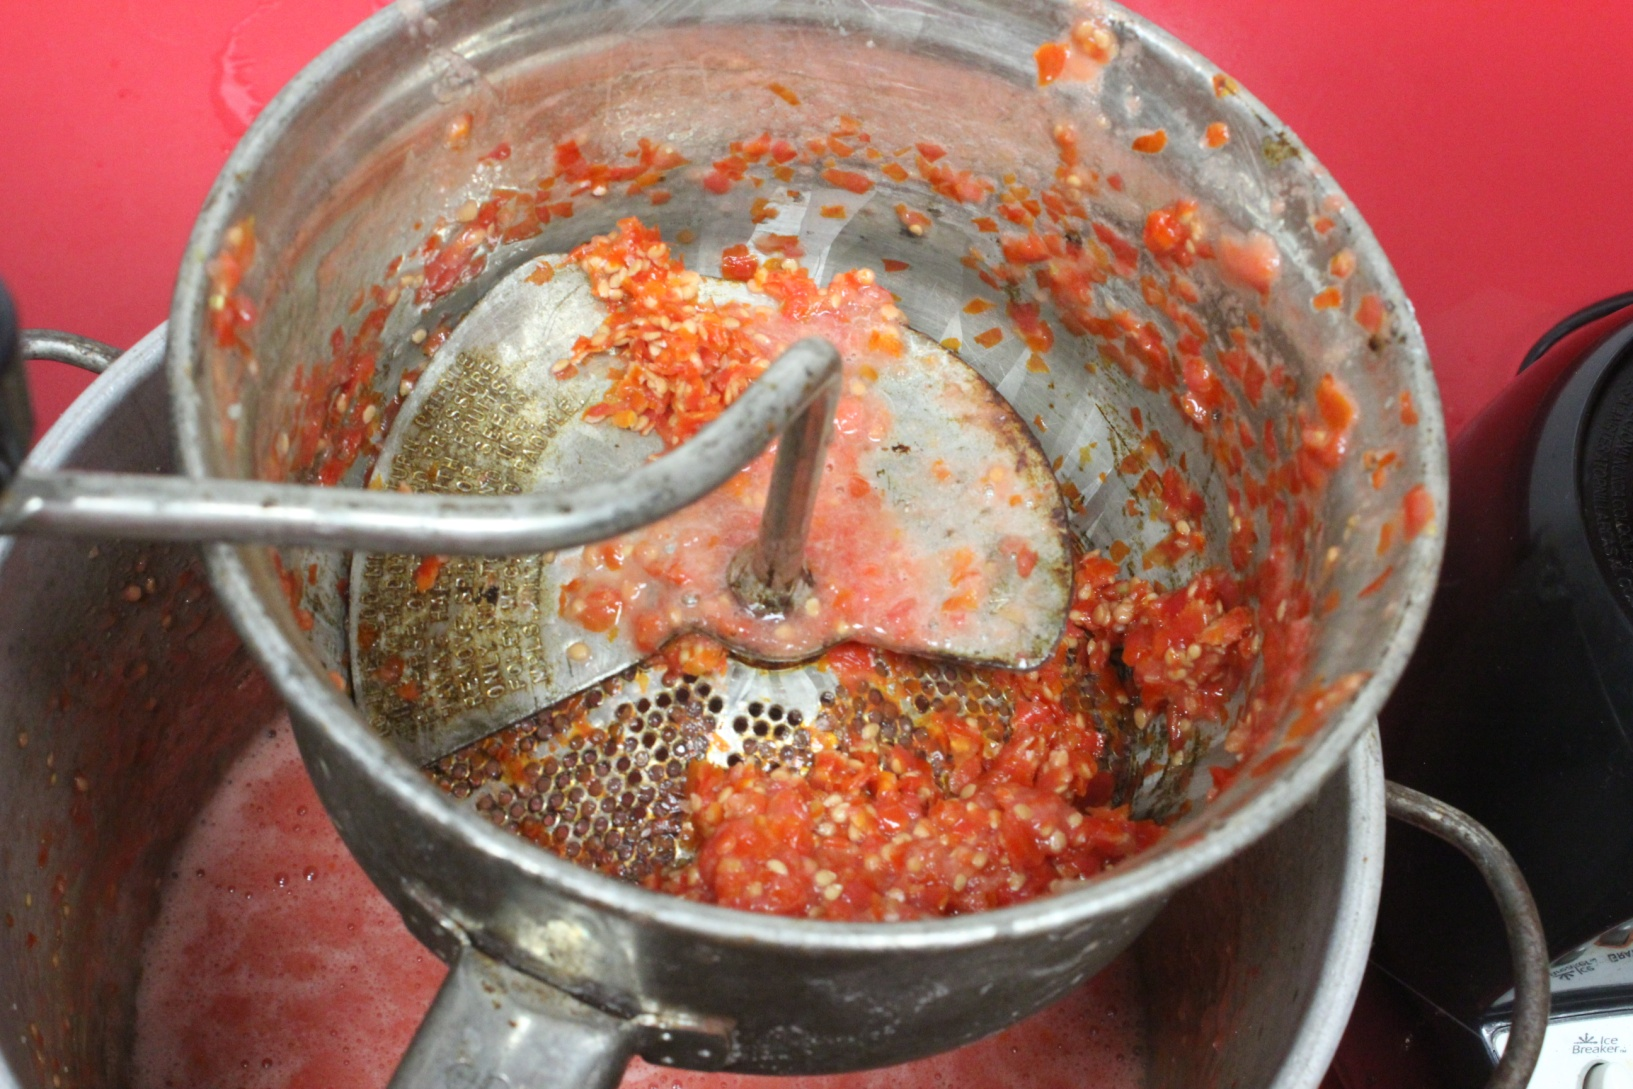
Seeds and skins:
Seeds are high in nutrition, so when they become canning scraps, they can be a bonus for the chickens! If you or your neighbors don't have poultry, I hope you have a compost pile that will benefit from them. I try to spin this food mill until almost all of the juice and pulp are separated for canning.
I find it easiest to clean out the food mill into the scrap bucket frequently because it makes the work of separating the skins and seeds from the juice easier.
From Juice to Sauce:
It takes some hours to cook tomato juice down into a sauce that thick enough to go on pizza or to serve as spaghetti sauce. Even with frequent stirring, I found it difficult not to get a bit of the sauce burned on the bottom of the pan. Even a small amount burned will add a burnt flavor the entire batch, and although I would attempt to use cute labels like "Smoke Sauce" on the finished product, canning is just too much work not to get a better result.
The key to hours of cooking without scorching is two fold: first, a high-quality stainless steel pot is necessary. I admit that I "borrow" the heavy-duty one that my husband uses for making beer, but it's necessary! If you don't have one accessible, do get the highest quality pot available. In this case, a second-hand store or garage sale may serve you well.
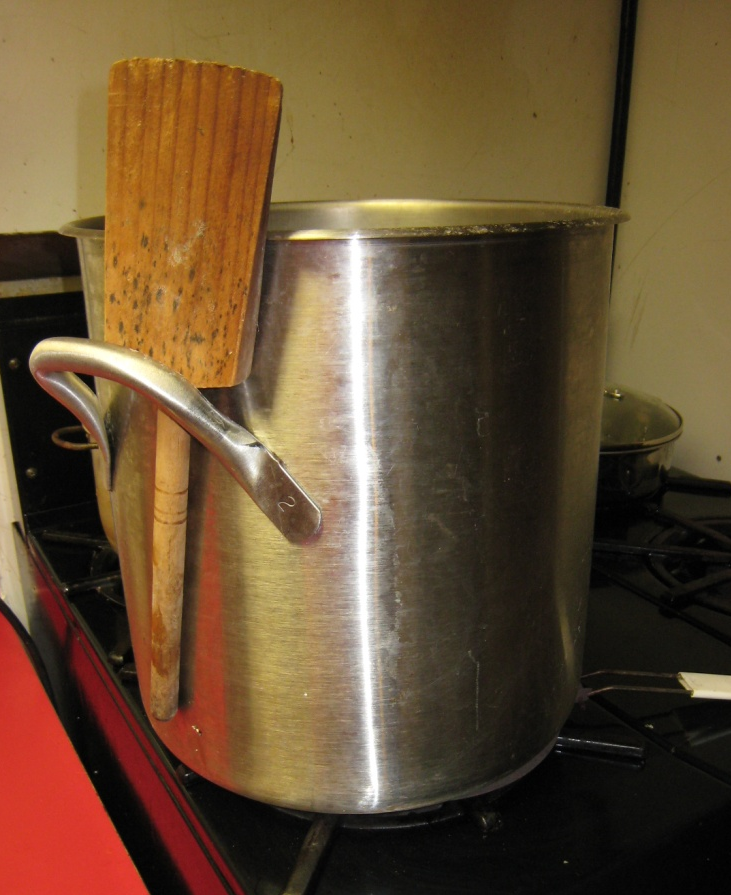
Prevent burning!
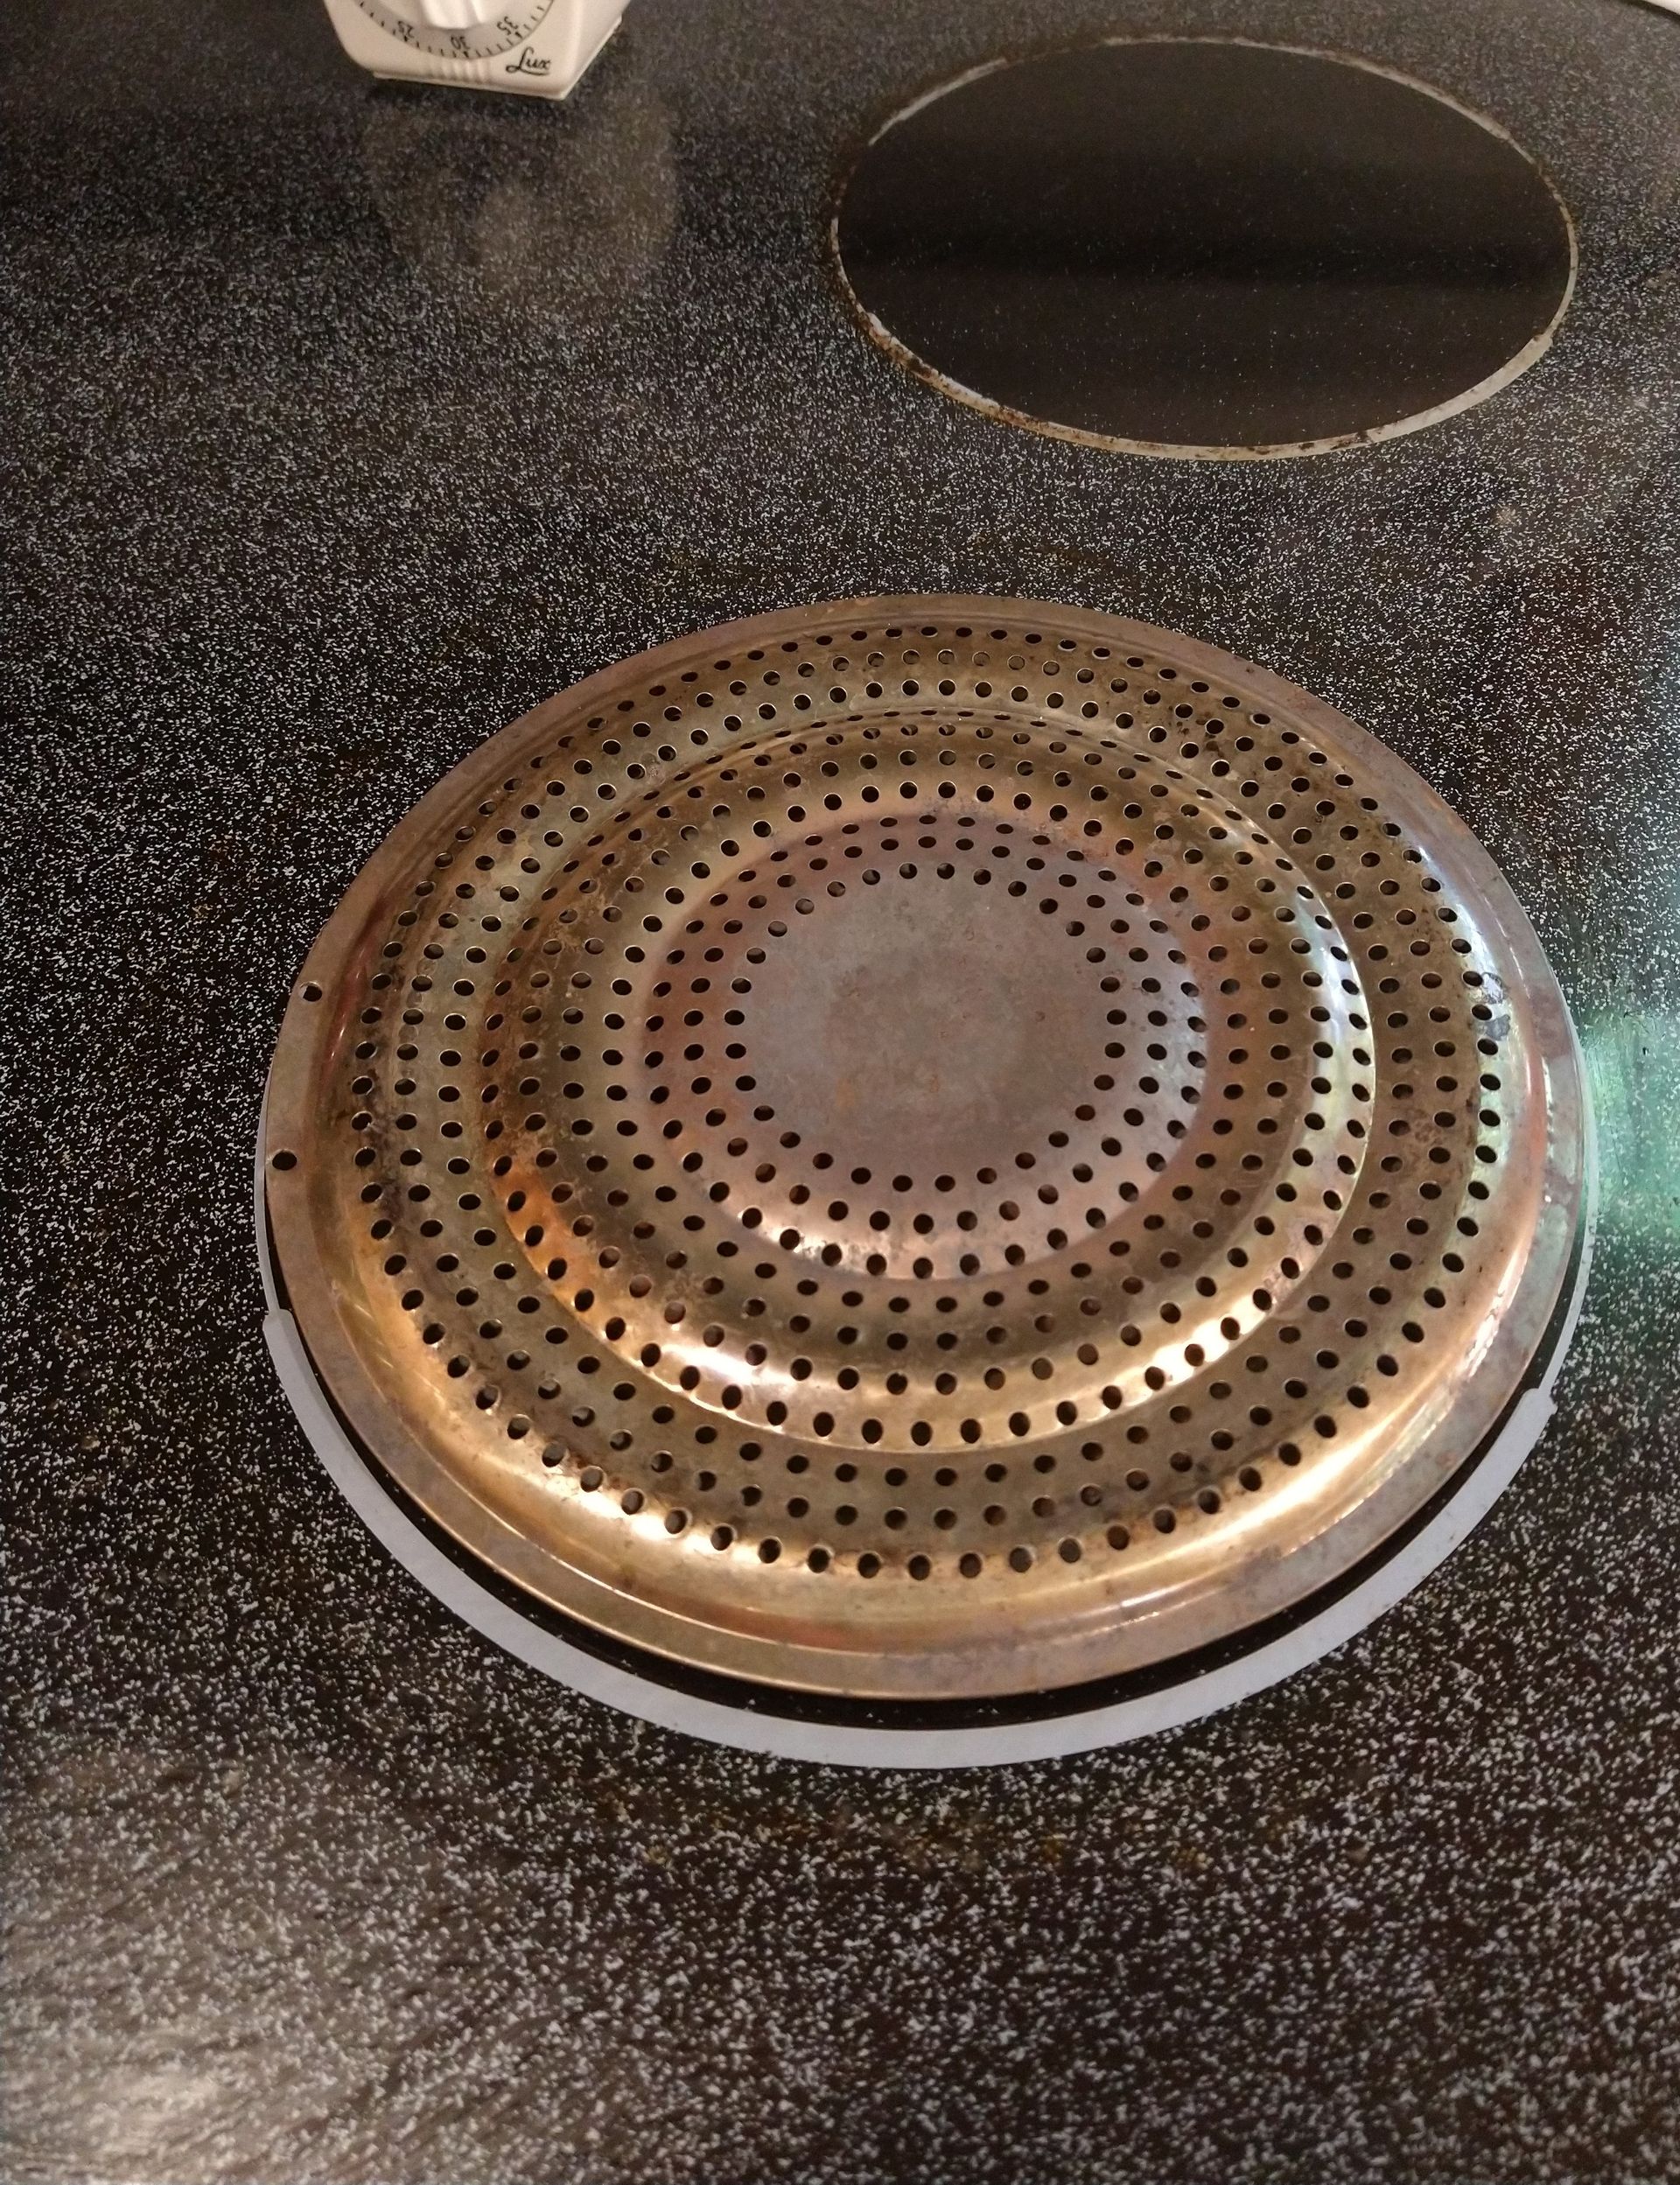
Besides having a heavy-duty, stainless steel pot, a heat diffuser is essential when cooking your tomato juice down into a thick sauce. Reducing the tomato juice to a thick sauce takes some hours, and without the heat diffuser, we would have to stand and constantly stir to prevent the sauce at the bottom of the pot from burning. This heat diffuser had to have its handle cut off so it would lie flat on these flat burners, so choose the model that is made for your type of stove: gas burners, glass top, or electric.
Now to get your produce canned!:
When you have your "assembly line" all set, the burners of your stove will be occupied with the following:
- The large pot filled with produce ready to can
- The water bath canner with its water being heated
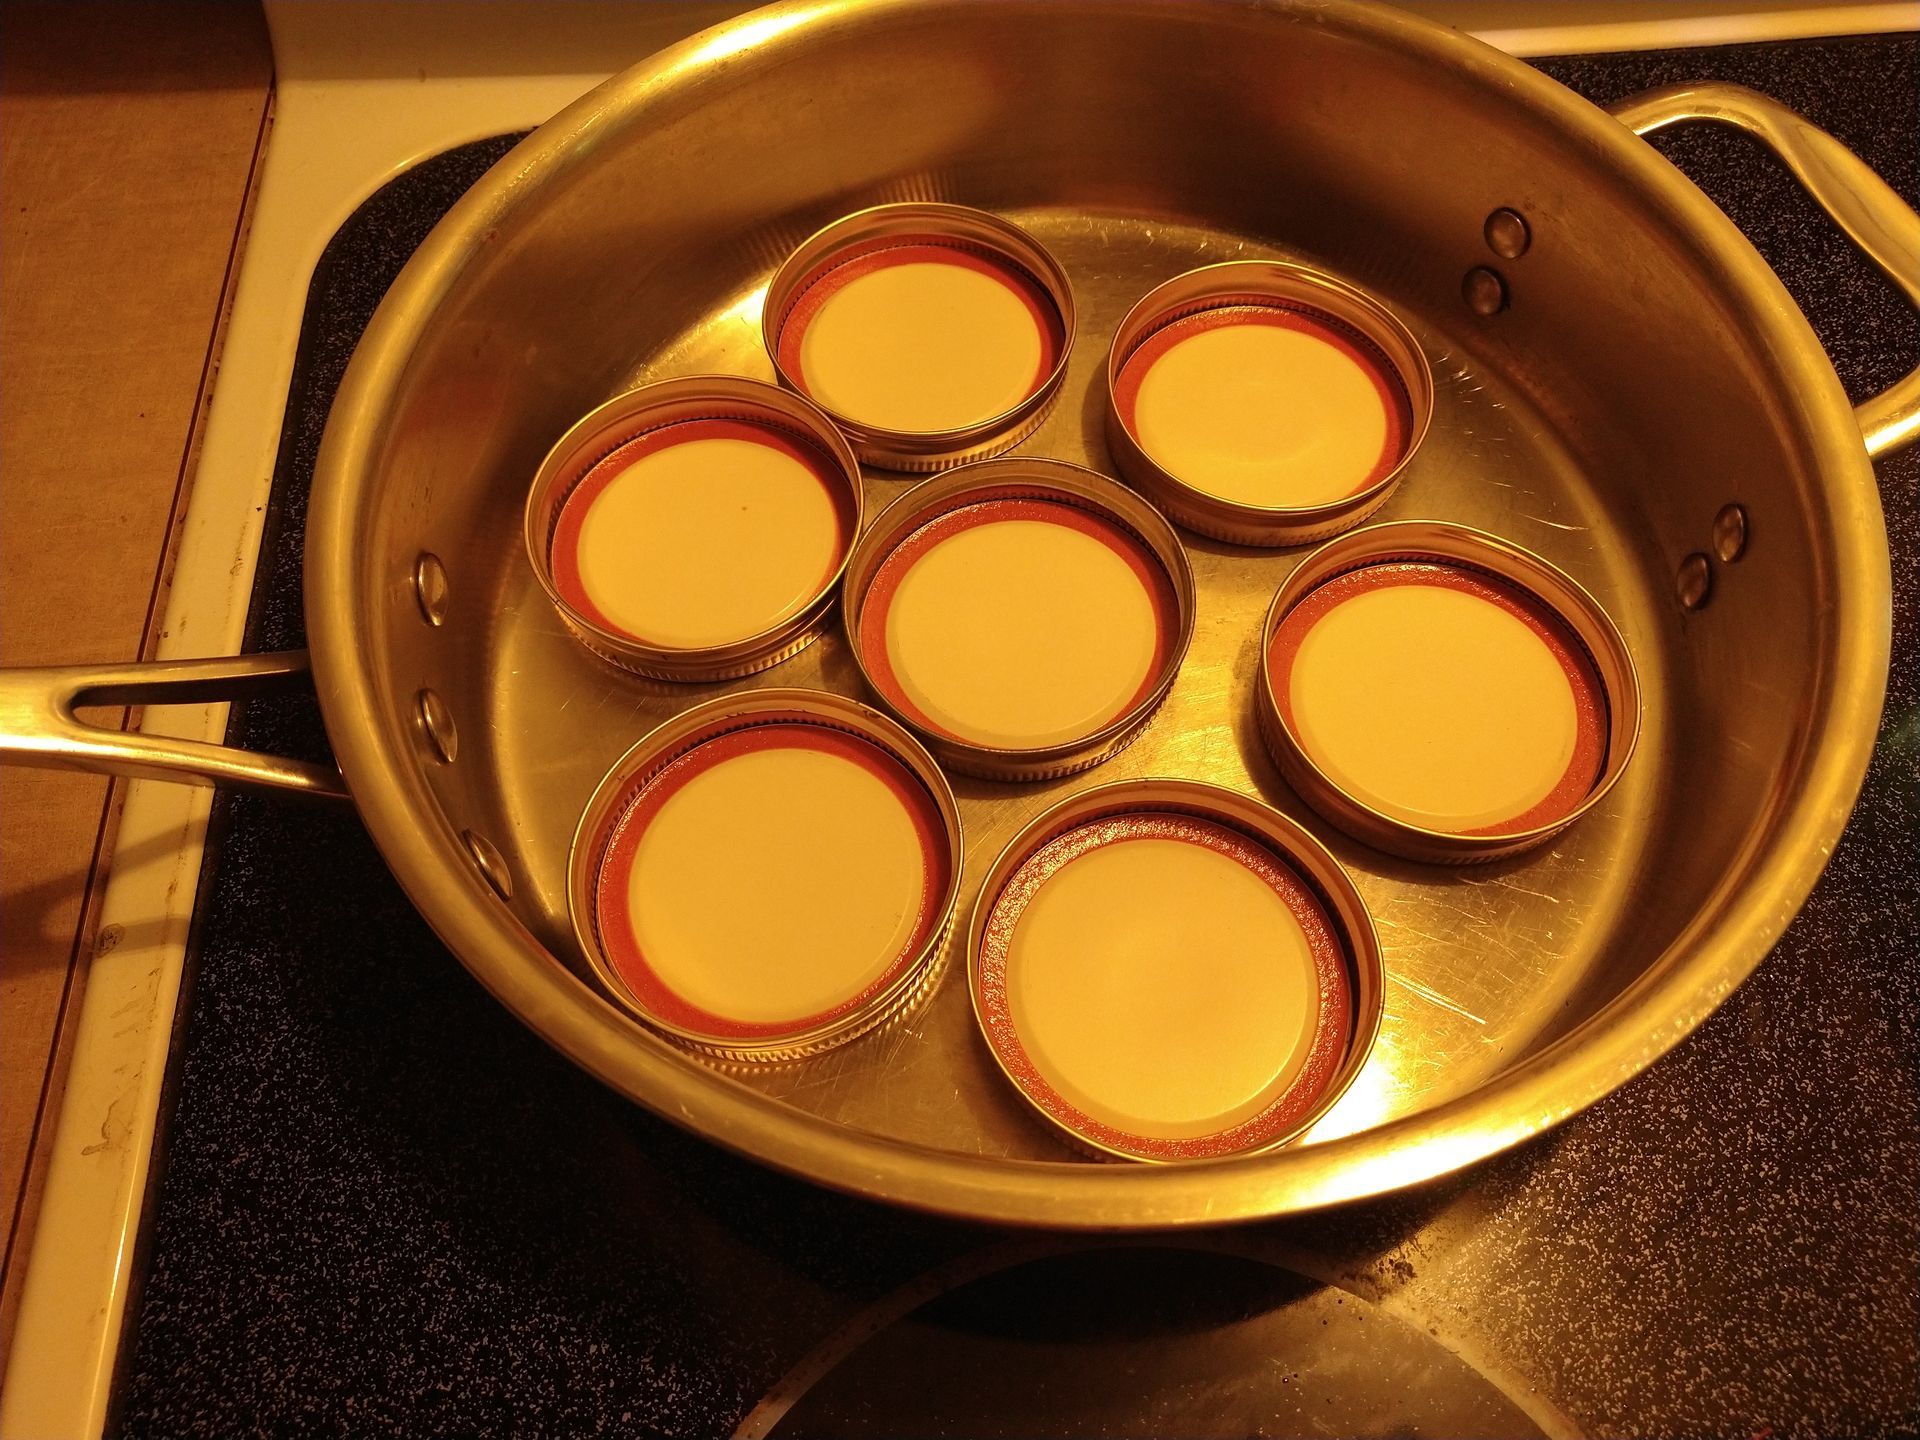
- Lids and rings kept hot in a large, shallow pan with water
- When canning something like peaches that will have a syrup packed around them, the syrup will be kept warm on a fourth burner.
Obviously, this is not the time to be juggling the phone or company, but a good and helpful friend is always welcomed!
Filling each jar:
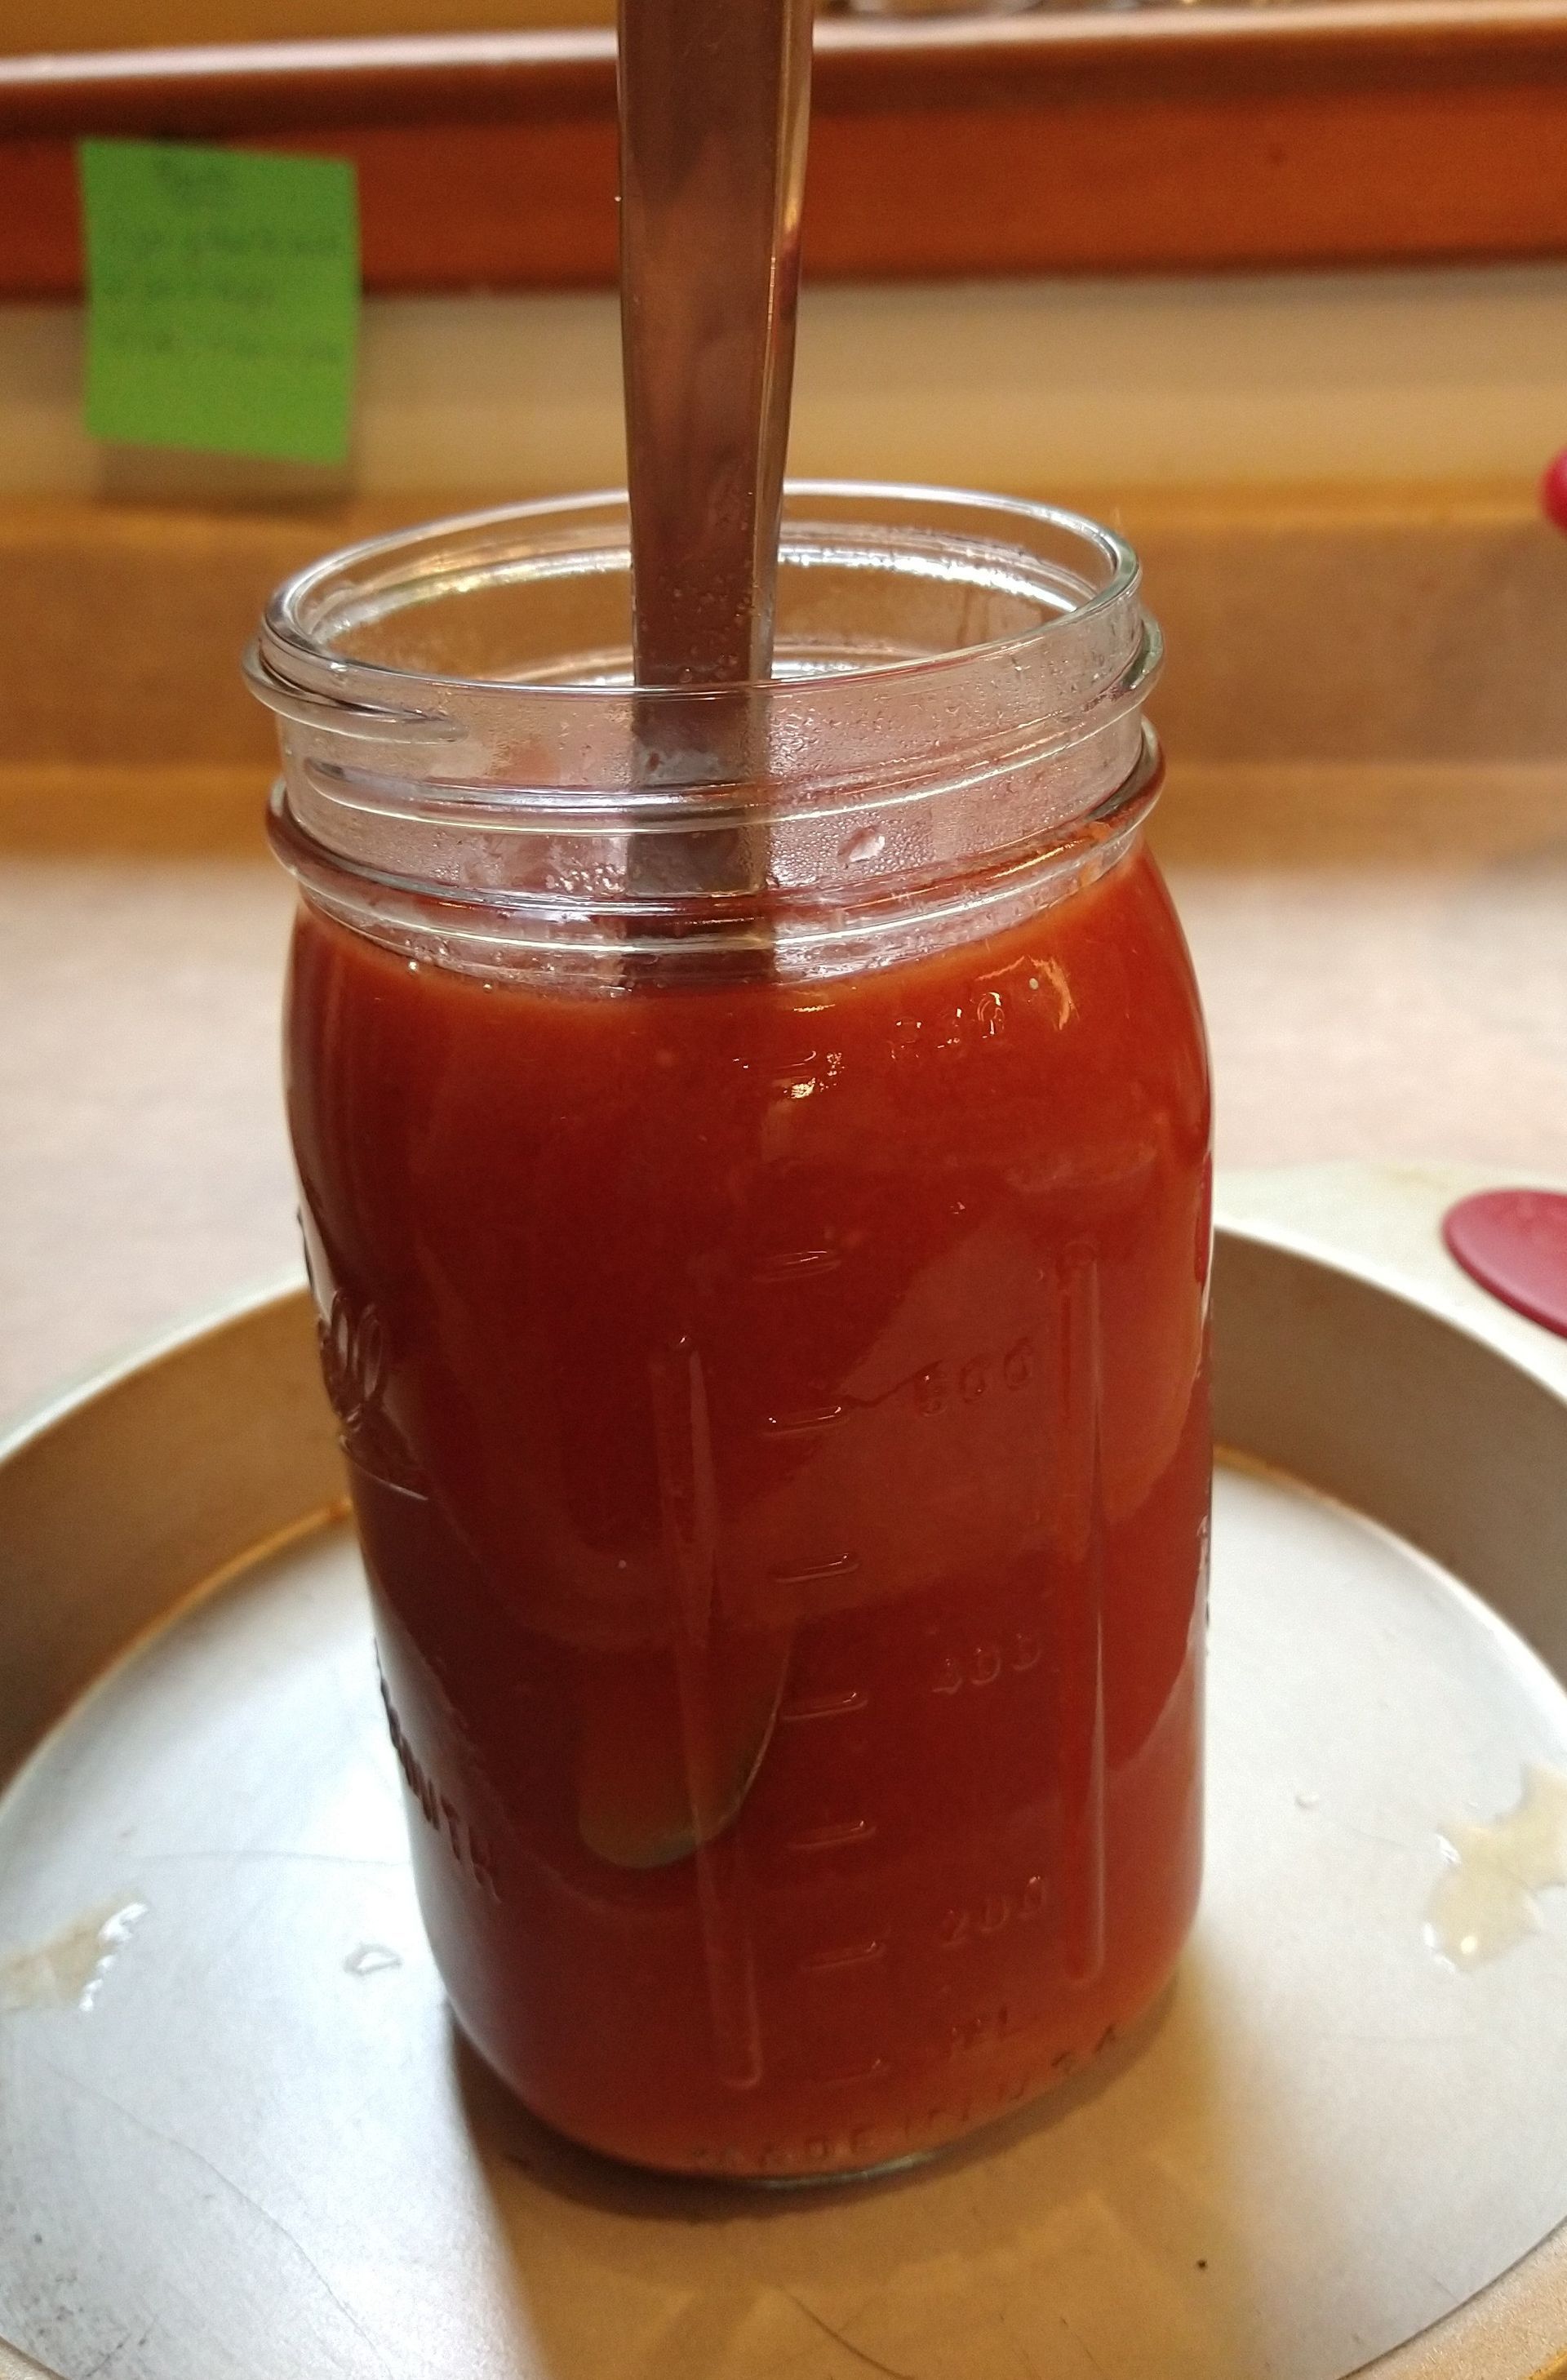
We're working with hot ingredients here, so I sometimes even use a stool to stand high enough to get the sauce from the deep pot into the jars.
The canning funnel is our best friend here because it will keep the lip of the jar clean. In addition, always give the top of the jar a wipe with a clean cloth before putting the lid on, because even the tiniest piece of produce will keep the jar from sealing.
Don't over-fill the jar! I stop at the base of the jar's neck because it makes it much less likely that the sauce will boil up during processing and prevent the lid from sealing. I put a lot of emphasis on getting these jars to seal and I know you will too!
No air bubbles!:
There's one more essential tip to make sure each jar will seal. After you fill a jar, there may be small air bubbles at the base. When the jars are heated in the water bath or pressure cooker, the bubbles rise, bringing a bit of produce with them which then gets deposited on the rim.
I realize you might be thinking that these jars are plotting a way not to seal, but I promise you that each step will become automatic and you'll get those precious jars of produce to seal every time.
In this case, always run a knife around the edge of the jar, all the way to the bottom. When canning whole produce, you'll actually be able to see the bubbles rise and disappear when you do this.
Capping and putting jars into water bath:
- After assuring that each filled jar has a clean rim, immediately place a hot lid on top and then seal it with a hot ring. Here's another trick to assuring they will seal; twist the lid snugly. Not too tight and not too loose! I go back and forth a bit just to satisfy myself that it feels "just right."
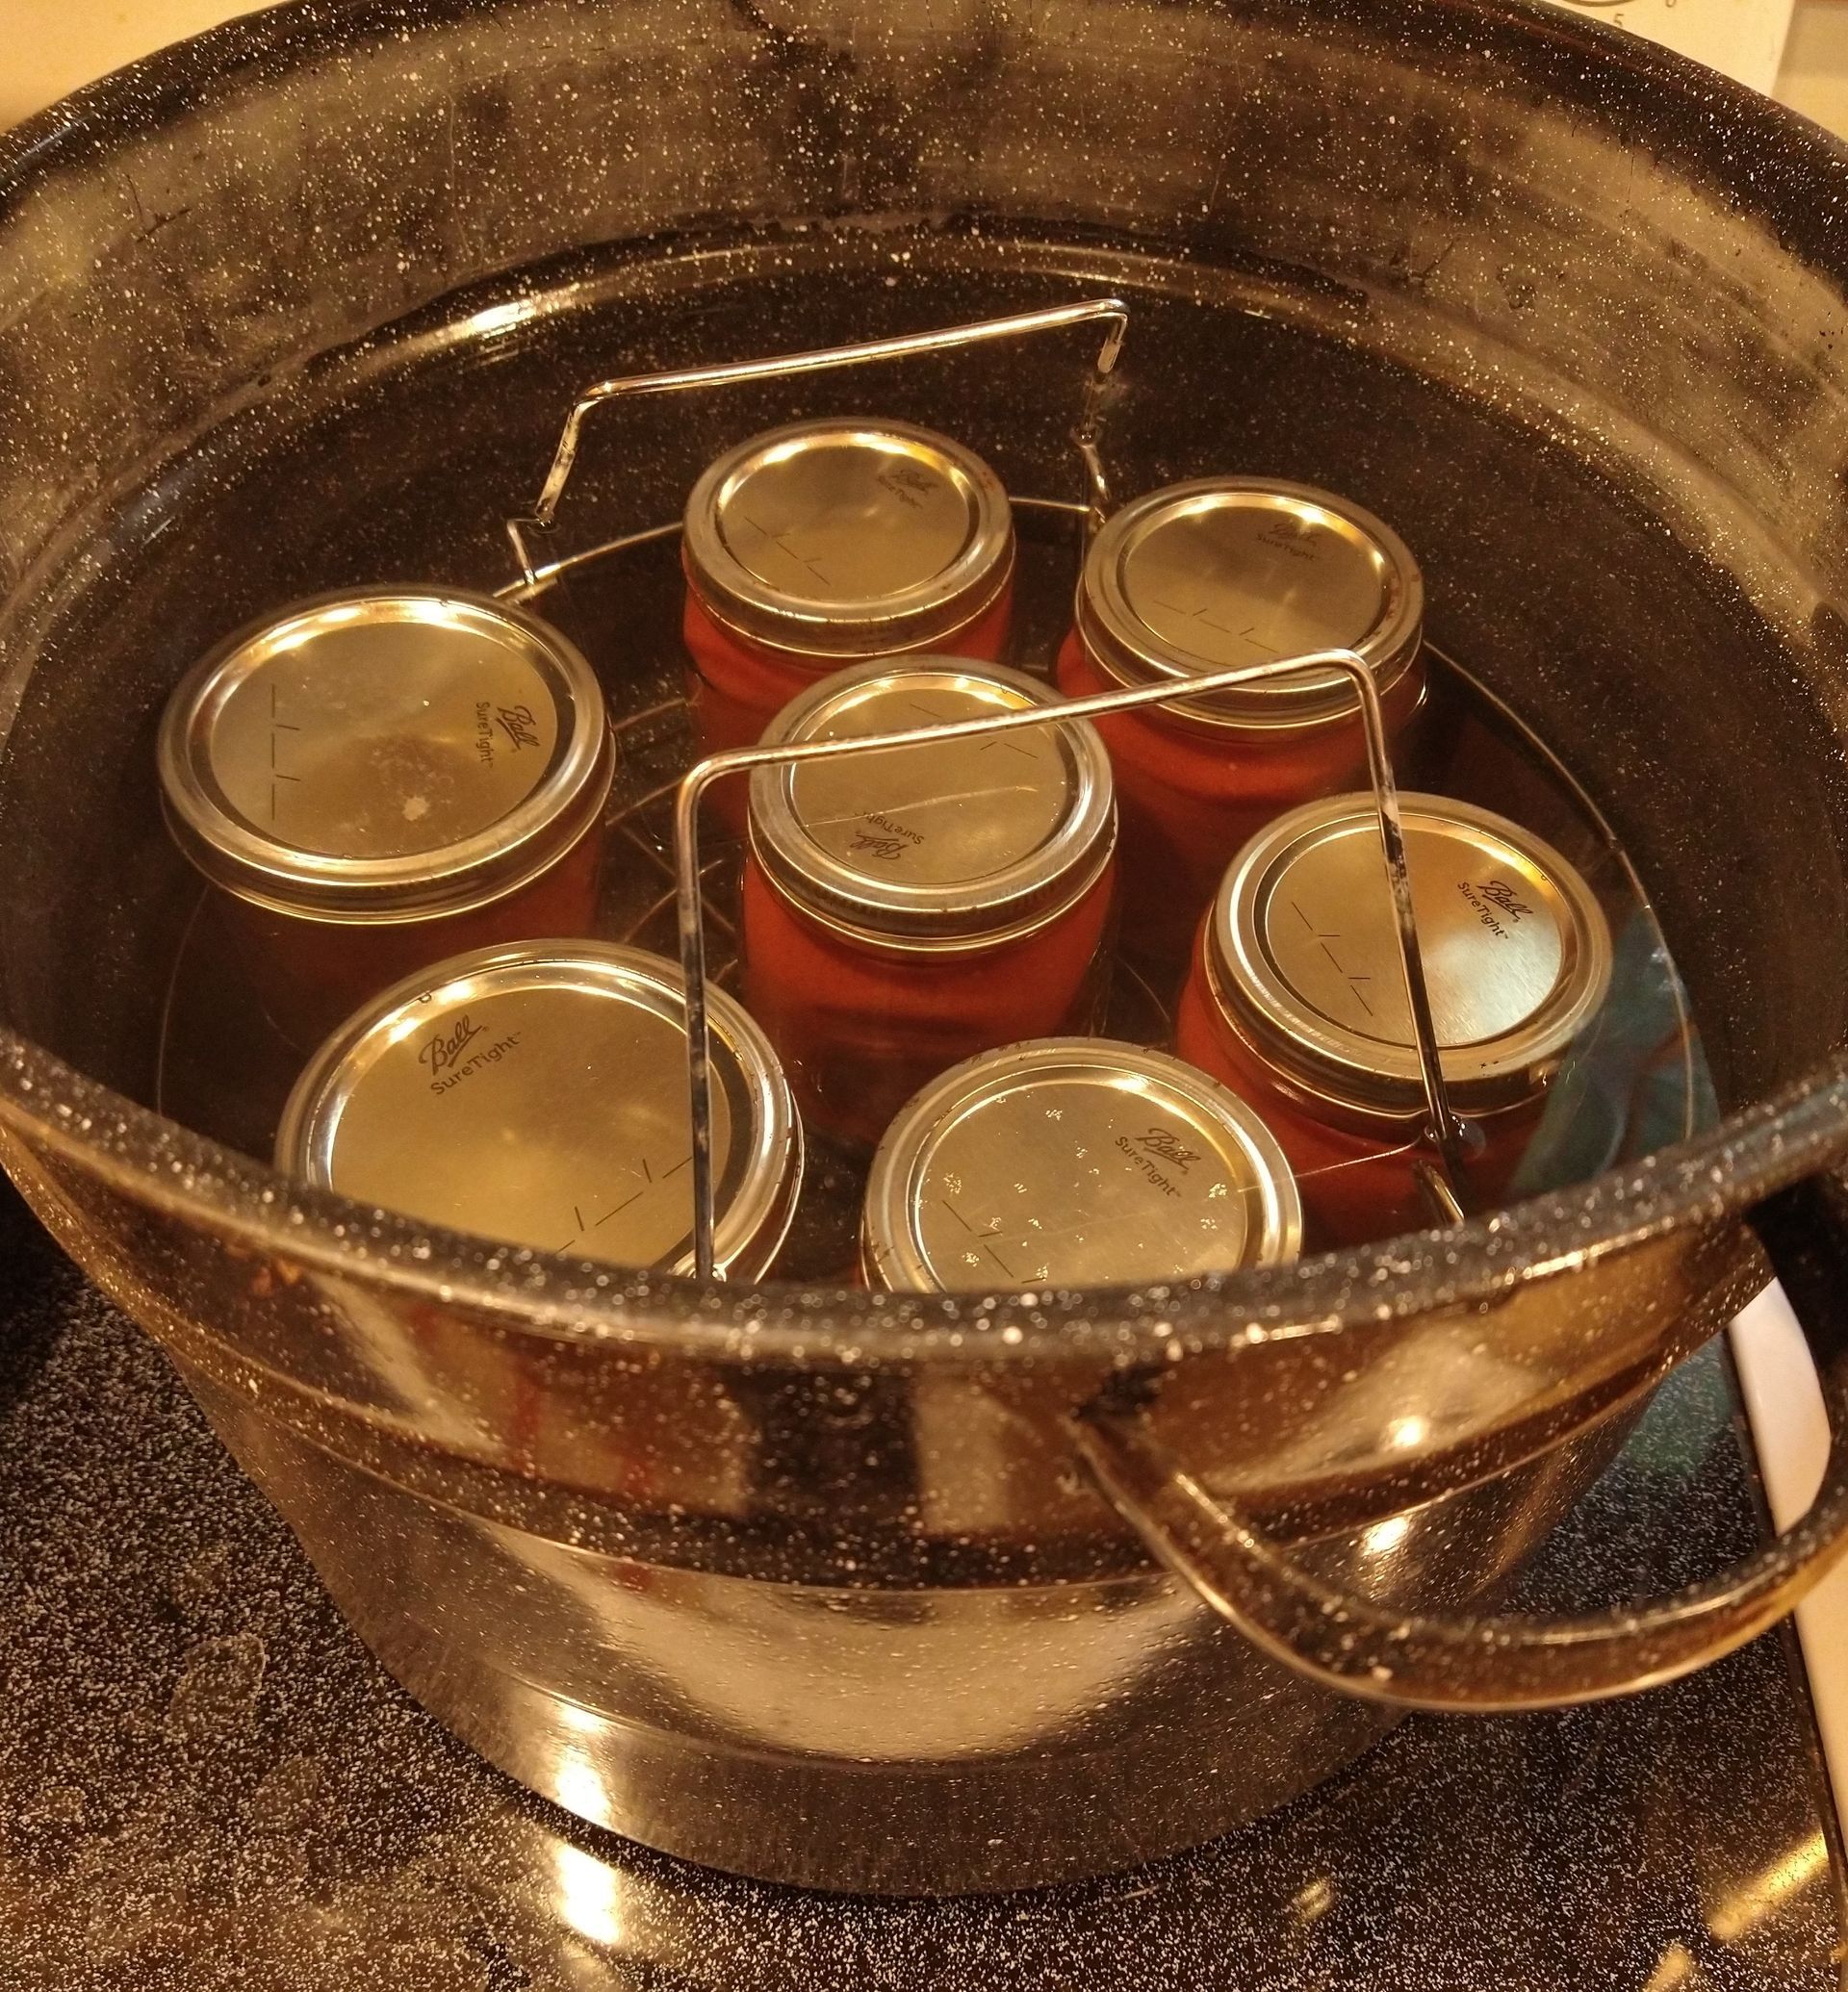
- Keep the rack attached to the rim of the water bath until you have as many jars on it as you'll be canning--up to seven in each batch. As you place each jar, you'll want to balance it with the previous ones so that the rack won't tip.
- When all the jars are in the canner, lower the rack into the simmering water by both handles.
- The water needs to be over the top of the jars by an inch or so. In this photo, I'd better have more hot water ready to pour over them. I usually do from the jars I've heated in the microwave and from the pan that held the lids and rims.
- Now put the canning bath cover on, consult the Blue Book for how long they should be kept simmering in the water bath.
- The key is to have the water simmering and not boiling. You don't want that produce to boil up onto that rim or to have the jars jostled sideways from boiling water.
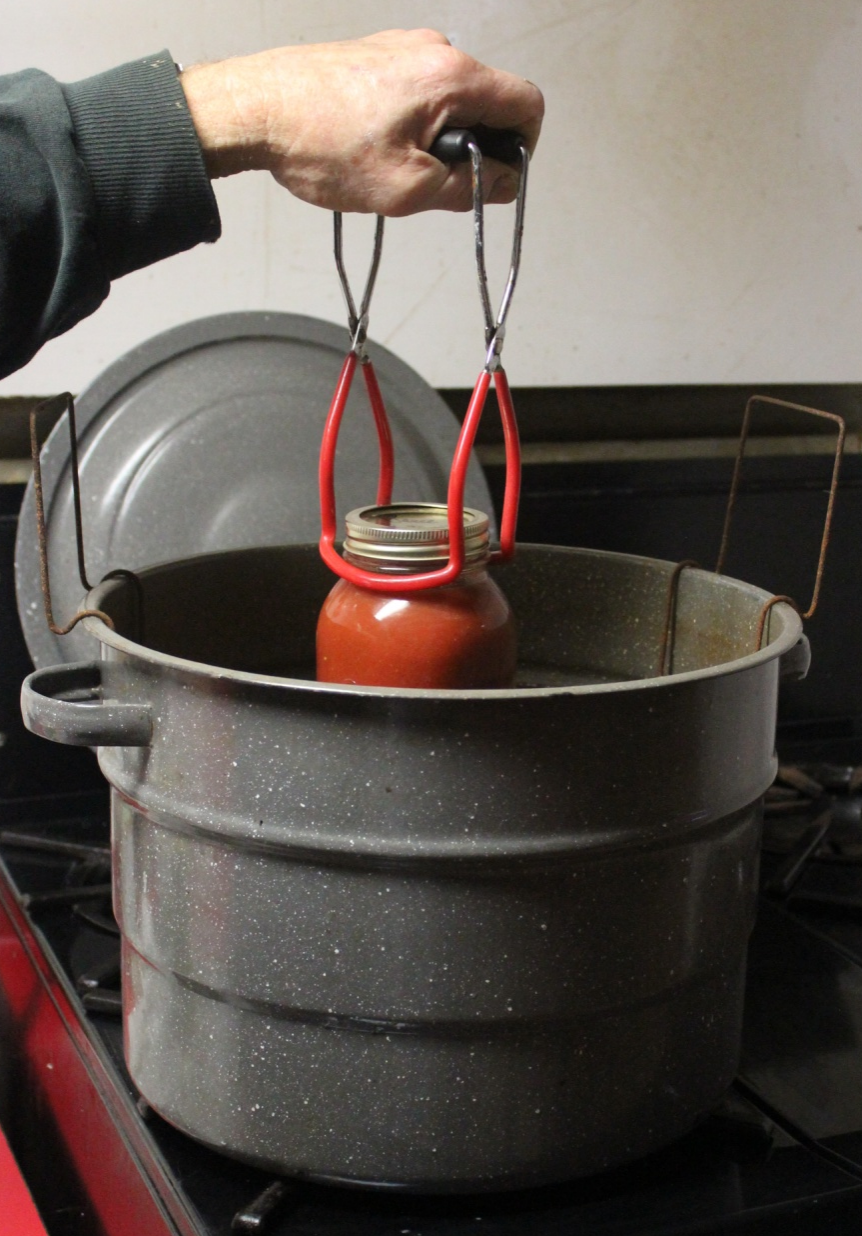
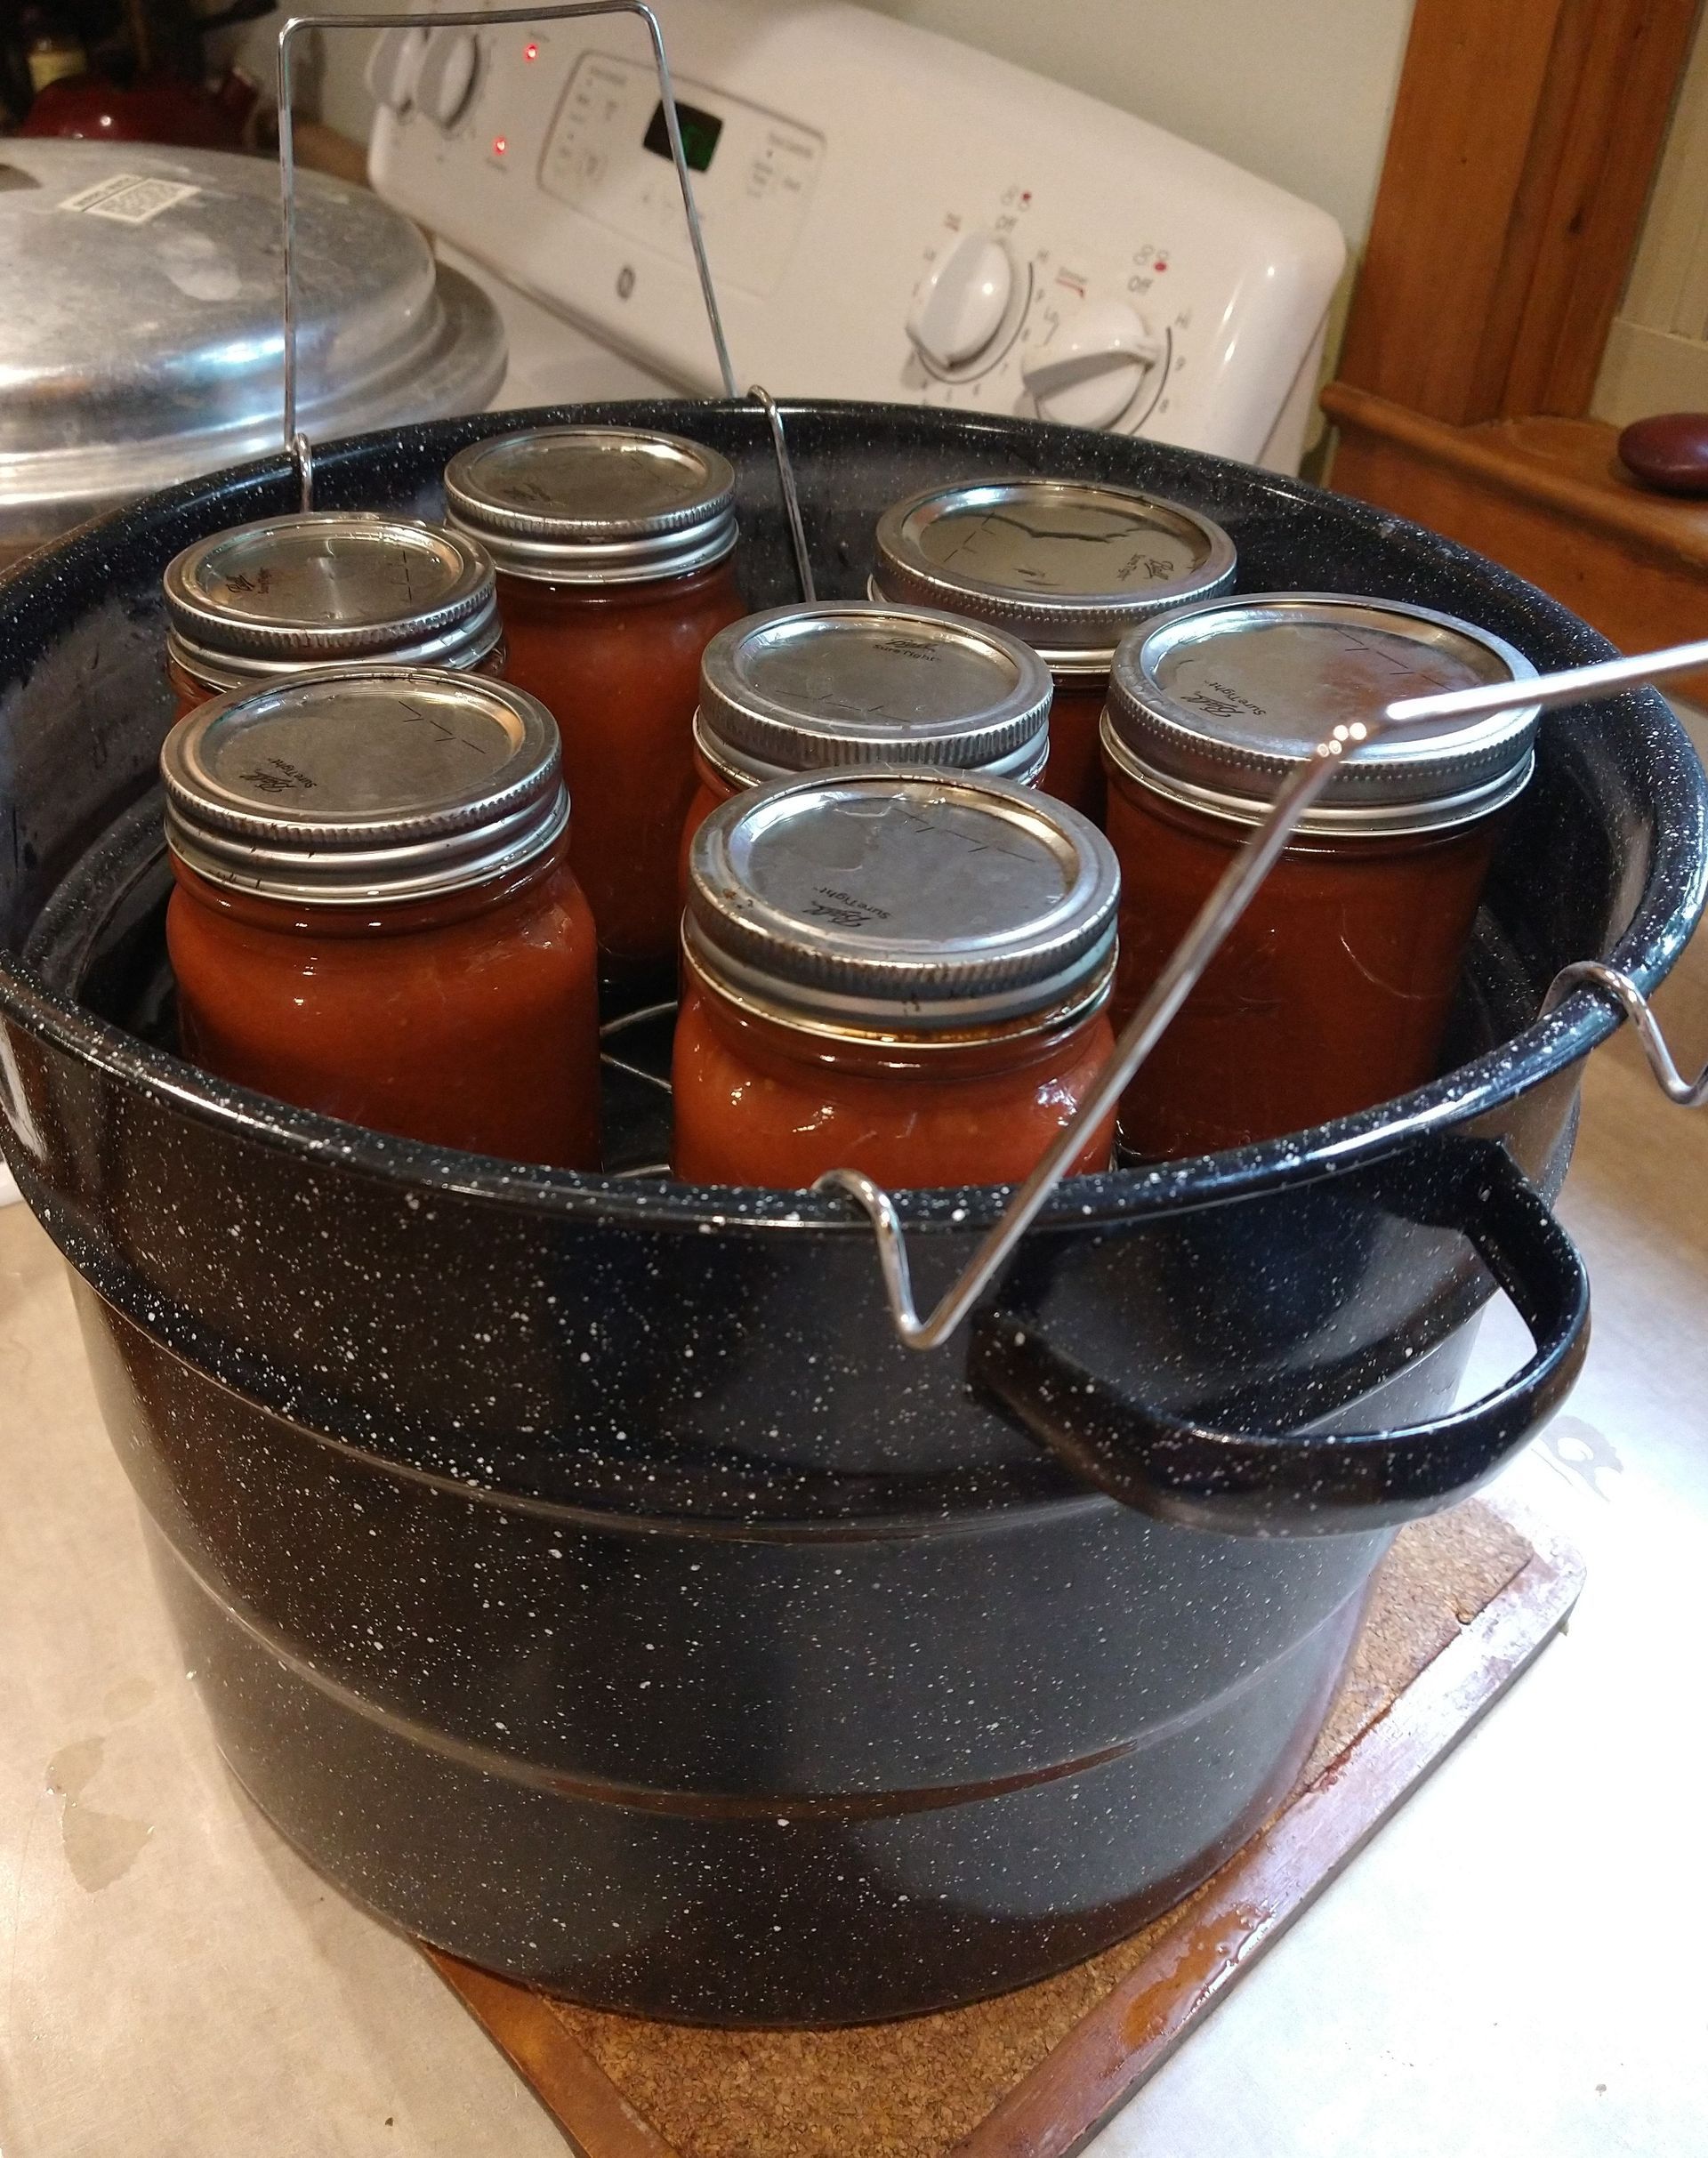
When the jars have simmered for the required period of time--twenty minutes for these quarts of tomato sauce--the burner's turned off, the cover of the canner is removed, and you can elevate the handles of the rack to suspend the jars.
It's also perfectly fine to remove the jars from the canner with the jar lifter and place them on a countertop or table that can tolerate the heat.
This is the suspenseful or fun part, depending on your confidence! It feels so good to hear the little "pop" each jar makes as it cools and the lids seal. It's only after they cool completely that you want to remove the rings for washing and storing.
Although I had a friend who wouldn't leave the room until she heard each jar seal, that's really not necessary! When the jars begin to cool--and they can be set on a water-proof surface to do that, you can tell if they have sealed by tapping a fingernail or a spoon lightly on the surface. The dull sound is a good sound--they're sealed! I sometimes look at the tops "from the side," to make sure each one looks depressed and isn't still dome-shaped. Don't worry about this. A jar that hasn't sealed sounds distinctly different from the dull sound a sealed top makes.
Pressure Cooker Canning:
When we want to preserve vegetables that aren't high in acid like tomatoes, or that haven't been pickled to make them more acidic, the "steam-pressure canner" is used. The method of preparing the vegetables and placing them in jars is not different from what was described above for the water bath canner.
Vegetables you might consider canning by this method would include peas, okra, peppers, potatoes, or pumpkin.
When I am overwhelmed with veggies like zucchini, peppers, okra and onions, I like to dice them up and can them along with tomato sauce. It makes for strange-looking, but very nutritious "veggie sauce" for winter's spaghetti or lasagna sauce. When I do this, it's necessary that the tomato sauce is canned in the pressure cooker.
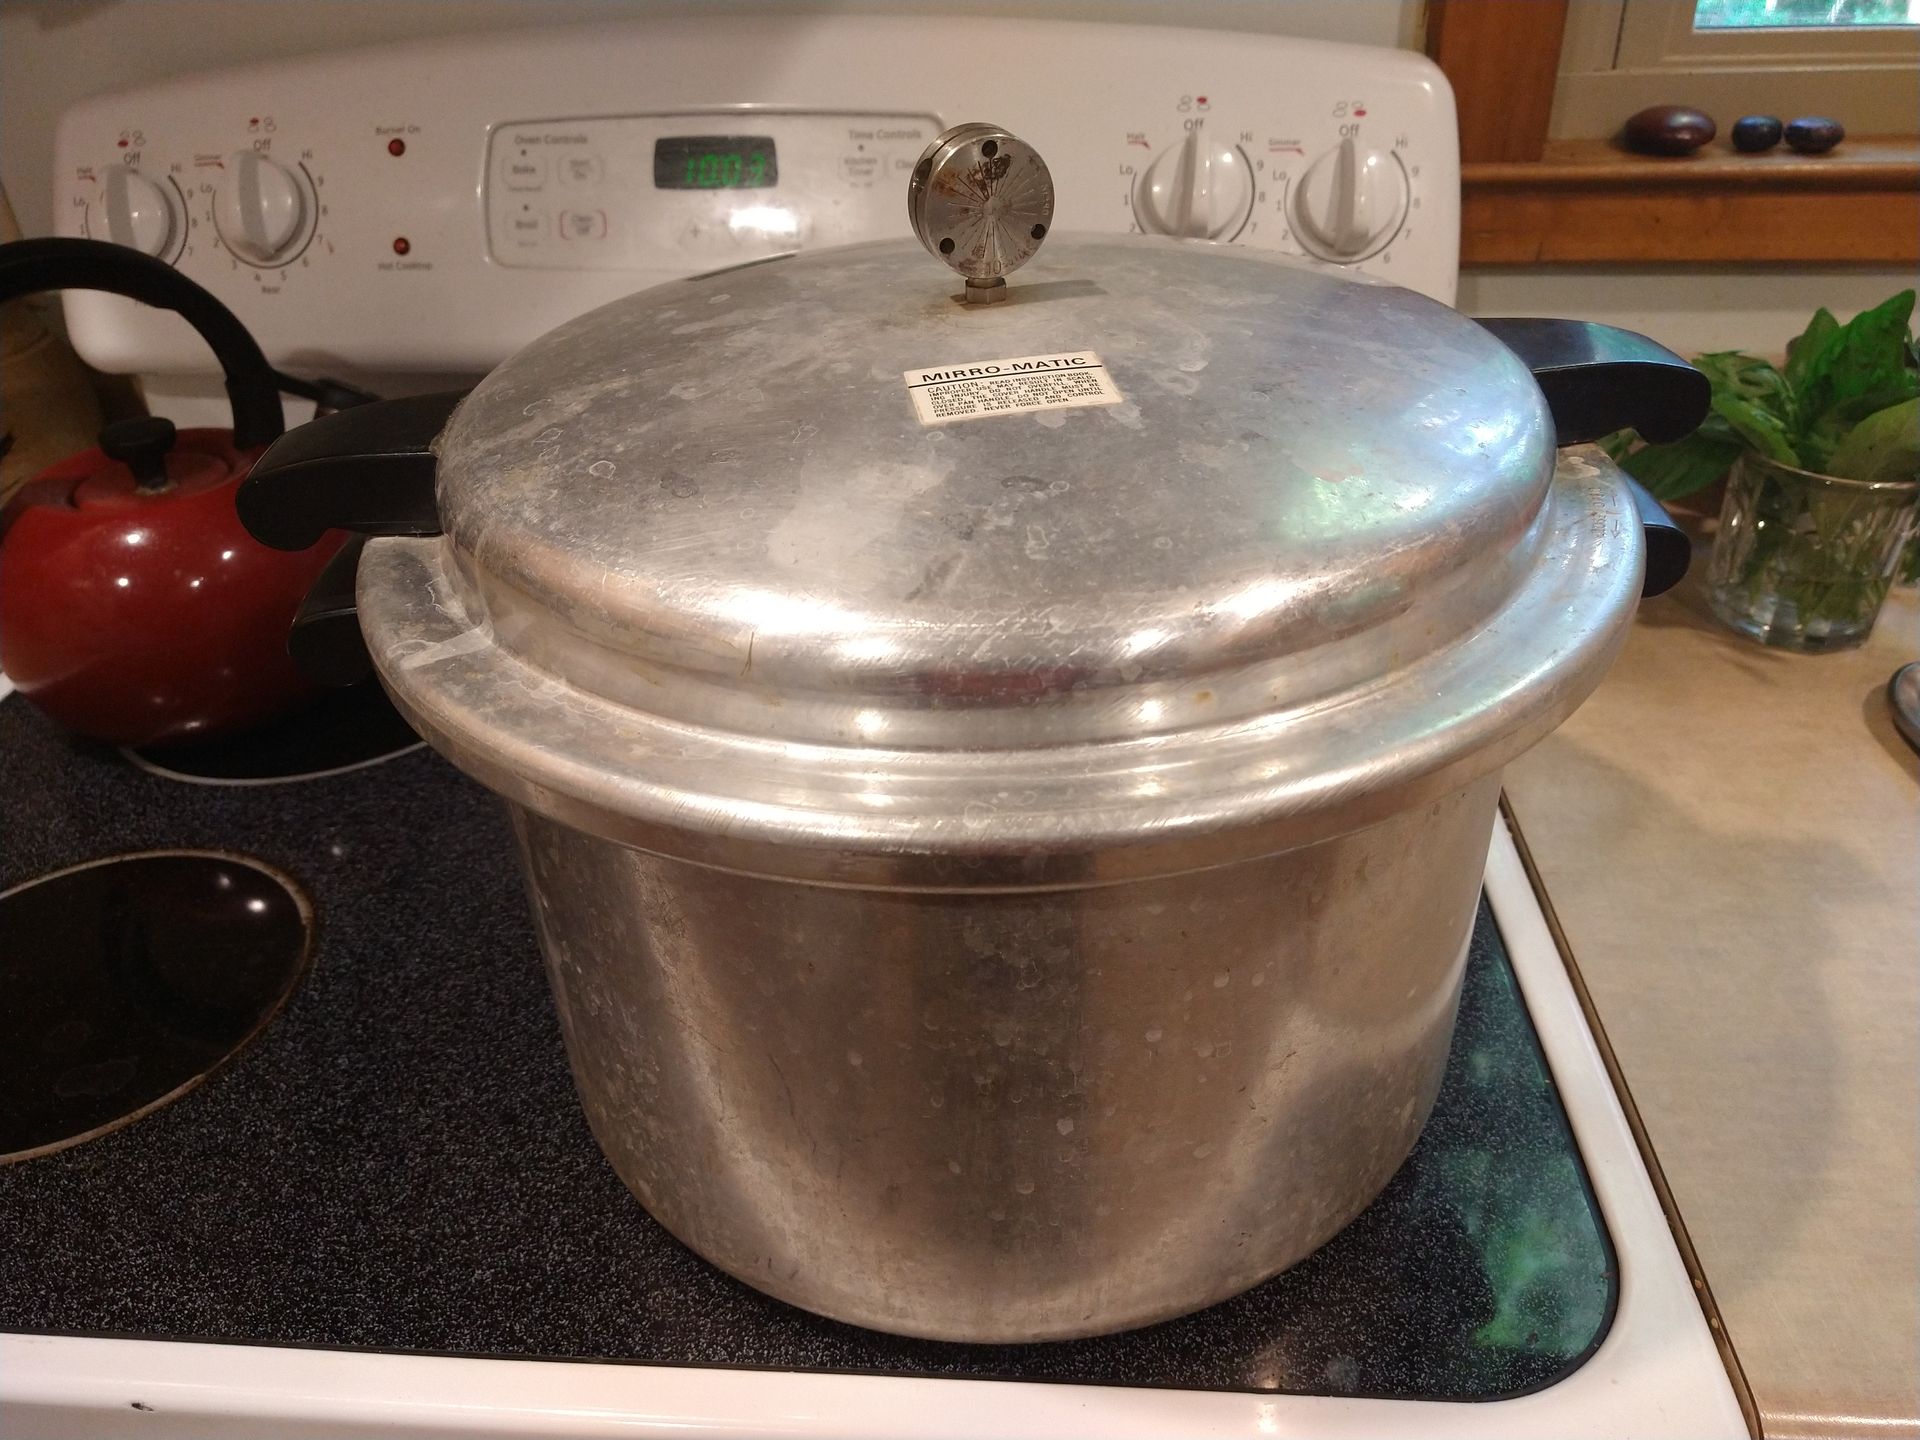
The pressure gauge on top of the cooker has the option for five, ten, or 15 pounds of pressure. The Blue Book will tell you how much pressure each specific vegetable requires. It will also tell you how to adjust the timing if you live above 2,000 feet in altitude.
Unlike the water bath canner, the water pressure canner only requires two to three inches of water in the bottom of the pan. After placing each hot jar inside, lock the cover on by fitting it snugly and twisting it to lock.
It will take some minutes on the burner for the steam to begin to escape. In this situation, it's necessary to be close-by because once the steam begins escaping and the gauge begins to "jiggle," you want to turn the heat down enough so that it only jiggles about three to four times a minute. Then relax for the required period of time according to the Blue Book.
When the time is up, remove the canner from the heat and let the pressure gradually fall to zero. I cheat sometimes by easing up the gauge, but this has to be done carefully because the escaping steam can be scalding--so the better part of valor is to be patient. Once no more steam escapes, you can remove the gauge and slowly open the lid to remove the jars. As with water bath canning, do not tighten the rings--just let the jars cool and seal.
Once your jars have cooled, the rings can be removed, cleaned and stored for future use. After testing each jar to make sure it's sealed, clean the top and use a marking pen to label each jar with the date and contents.
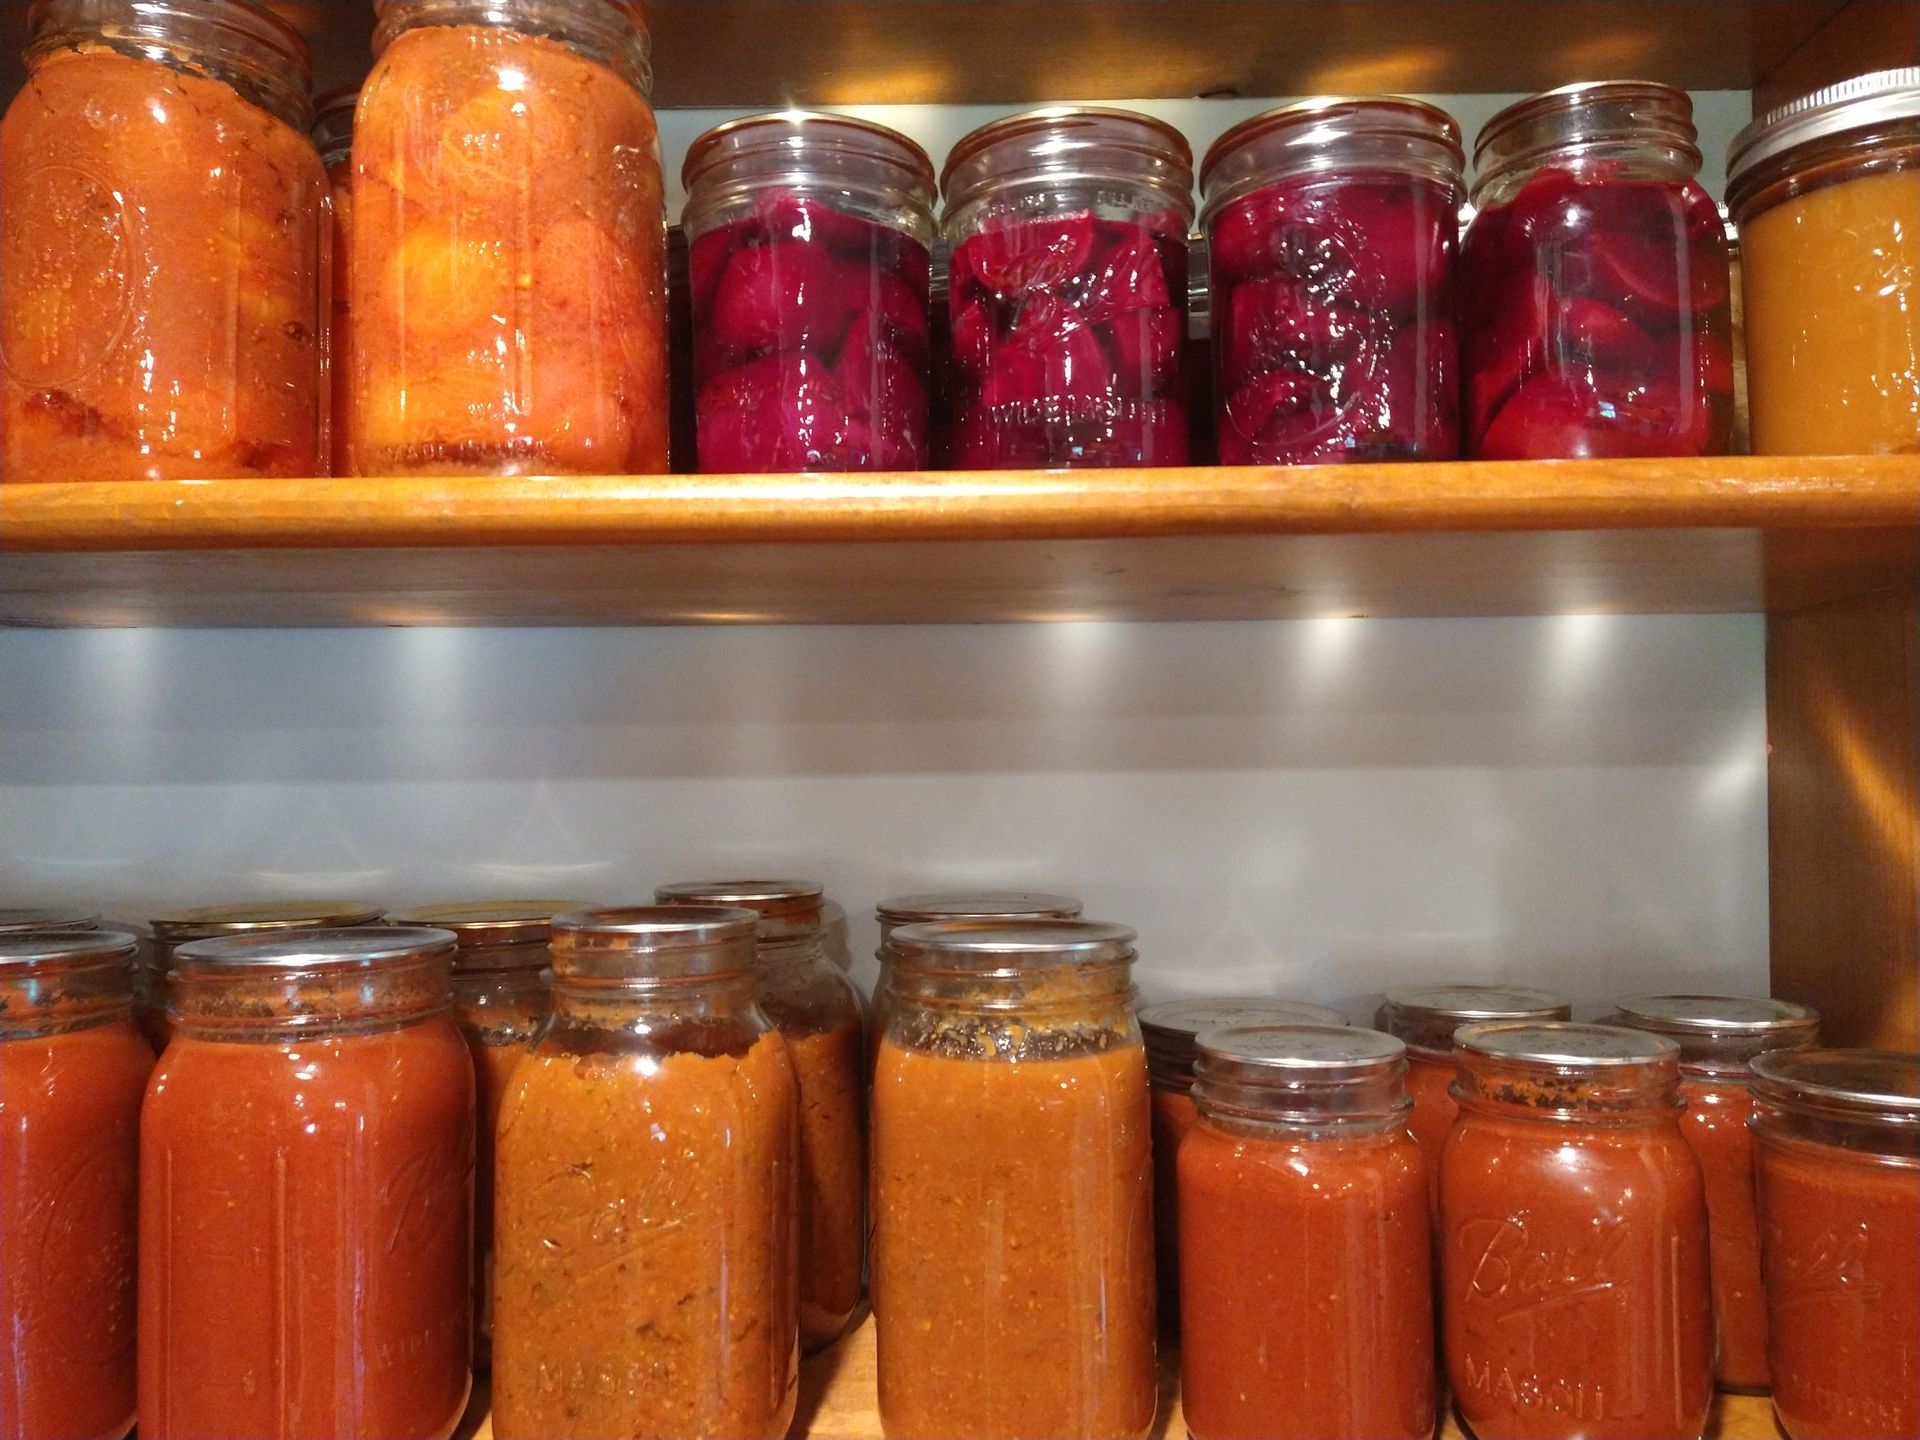
Canned jars are so pretty that I hope you can display them. One year's bumper crop of a fruit or vegetable can feed you for the next few years ahead.
Now congratulation yourself for becoming more self-sufficient!